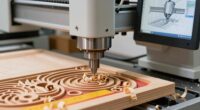
To stop burn marks while laser cutting, you need to fine-tune your settings based on the material you’re working with. Adjust the laser power to avoid excessive heat, and set the speed high enough for a clean cut without charring. Remember that different materials require different parameters, so testing small sections first helps. Proper focus and ventilation also improve results. Keep exploring these tips to master setting adjustments for flawless, burn-free cuts every time.

Get the latest gadgets delivered free with Prime
- Fast, free delivery on millions of items
- Prime Video, Amazon Music and more included
- Member-only deals all year
Key Takeaways
- Adjust laser power and speed to match material thickness, reducing excess heat that causes burn marks.
- Use appropriate laser frequency settings to control heat input and minimize charring or scorching.
- Select the correct focus and ensure proper alignment for precise cuts, preventing uneven burns.
- Incorporate test cuts on scrap material to fine-tune settings before the final job.
- Maintain proper ventilation and airflow to carry away fumes and cool the material, decreasing burn risks.
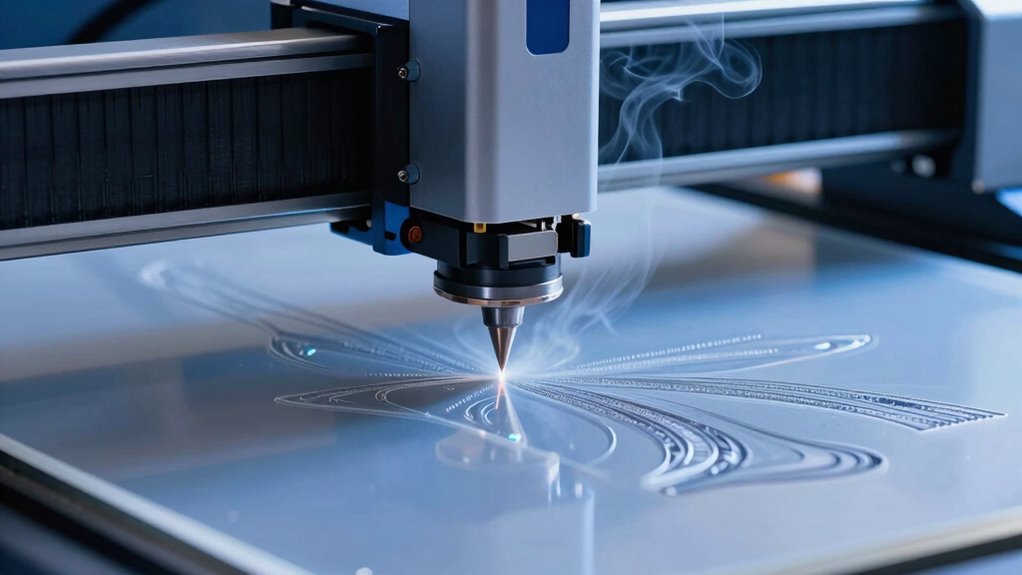
Have you ever wondered how intricate designs are precisely cut into materials like metal, wood, or plastic? The secret lies in understanding the laser cutting process and mastering the right settings to prevent burn marks. One of the most important aspects to consider is material compatibility. Different materials react uniquely to laser cutting; some, like acrylic, cut cleanly with minimal heat, while others, such as certain woods or metals, require specific adjustments to avoid scorching or charring. Before you start, always check the material’s specifications to ensure your laser settings—power, speed, and frequency—are suitable. Using incompatible settings can lead to unwanted burn marks, rough edges, or even damage the material. For example, setting the laser power too high on delicate plastic can cause melting and discoloration, while insufficient power might result in incomplete cuts. Knowing your material’s properties helps you select the best parameters, ensuring precise, clean results every time. Material properties play a crucial role in determining optimal laser settings and outcomes.
Safety precautions are equally crucial when working with laser cutters. Always operate in a well-ventilated area, as fumes and smoke are generated during cutting, especially with plastics and treated woods. Wear appropriate protective gear, including safety glasses designed for laser safety, to shield your eyes from harmful reflections or accidental exposure. Never leave the laser cutter unattended while it’s in operation, as high heat and precision equipment pose fire risks if not monitored. Regularly inspect your equipment for proper maintenance—clean lenses and ensure the cooling systems are functioning—since dust and debris can interfere with the laser beam and lead to uneven cuts or burns. Additionally, familiarize yourself with the emergency shut-off procedures and keep a fire extinguisher nearby. These precautions aren’t just formalities; they’re essential steps to keep you safe and prevent damage to your workspace or materials.
Understanding the nuances of material compatibility and safety precautions allows you to refine your laser cutting skills tremendously. By adjusting settings based on the material’s nature, you minimize the risk of burn marks and achieve cleaner, more professional results. Ensuring safety measures are in place protects you from harm and preserves your equipment’s longevity. Remember, mastering these fundamentals takes practice, but with careful attention, you’ll be able to produce intricate, precise cuts without the telltale signs of scorching. Whether you’re creating detailed jewelry, signage, or custom parts, respecting your materials and safety protocols makes all the difference in elevating your craft.
As an affiliate, we earn on qualifying purchases.
Frequently Asked Questions
How Do Ambient Temperature and Humidity Affect Laser Cutting Quality?
You should be aware that ambient humidity and temperature fluctuations can impact your laser cutting quality. High humidity may cause the material to absorb moisture, leading to uneven cuts or burn marks, while low humidity can cause static buildup. Temperature fluctuations can affect the laser’s focus and stability, resulting in inconsistent cuts. To maintain ideal results, control your workspace environment, keeping humidity and temperature levels steady during your cutting process.
Can Different Materials Share the Same Optimal Laser Settings?
You can’t always share the same ideal laser settings across different materials because of material compatibility. Each material has unique properties, requiring setting customization for the best results. When working with new materials, you should test and adjust your laser parameters to prevent burn marks or poor cuts. This guarantees precise, clean cuts and maximizes efficiency, especially when handling diverse materials in your projects.
What Are the Safety Precautions During Laser Cutting Operations?
You should always prioritize laser safety and wear protective gear like safety glasses and gloves. Investigate the theory that laser cutting is completely safe; it’s not. Always operate in a well-ventilated area, keep a fire extinguisher nearby, and guarantee proper machine maintenance. Never leave the laser unattended, and follow all safety protocols to prevent accidents. Staying vigilant protects you from potential hazards during laser cutting operations.
How Does the Thickness of Material Influence Laser Power Adjustments?
You need to adjust laser power based on material thickness since thicker materials require more power for clean cuts. Thicker, less flexible materials demand higher laser power calibration, while thinner, more flexible ones need less. Keep in mind, increasing power may cause burn marks, so you should find the right balance. Always test on scrap pieces first to determine ideal settings and avoid damaging your material.
What Maintenance Routines Ensure Consistent Laser Cutting Performance?
Did you know regular maintenance can boost your laser cutter’s efficiency by up to 20%? You should routinely perform machine calibration to guarantee accuracy and consistency. Additionally, lens cleaning is essential; dust and debris can distort the laser beam, causing imperfect cuts. Schedule these routines weekly or after heavy use to maintain peak performance, prevent burn marks, and extend your machine’s lifespan.
As an affiliate, we earn on qualifying purchases.
Conclusion
Now you know how vital proper laser settings are to prevent burn marks and achieve clean cuts. Adjusting power, speed, and focus can make all the difference. Did you know that improper settings can cause up to 30% material waste due to burns and rework? By mastering these basics, you’ll save time, money, and materials, ensuring professional results every time. Keep experimenting and fine-tuning your settings—you’re on your way to laser-cutting perfection!
As an affiliate, we earn on qualifying purchases.
As an affiliate, we earn on qualifying purchases.
Columbus Day / Indigenous Peoples' Day Picks
long weekend sales
As an affiliate, we earn on qualifying purchases.