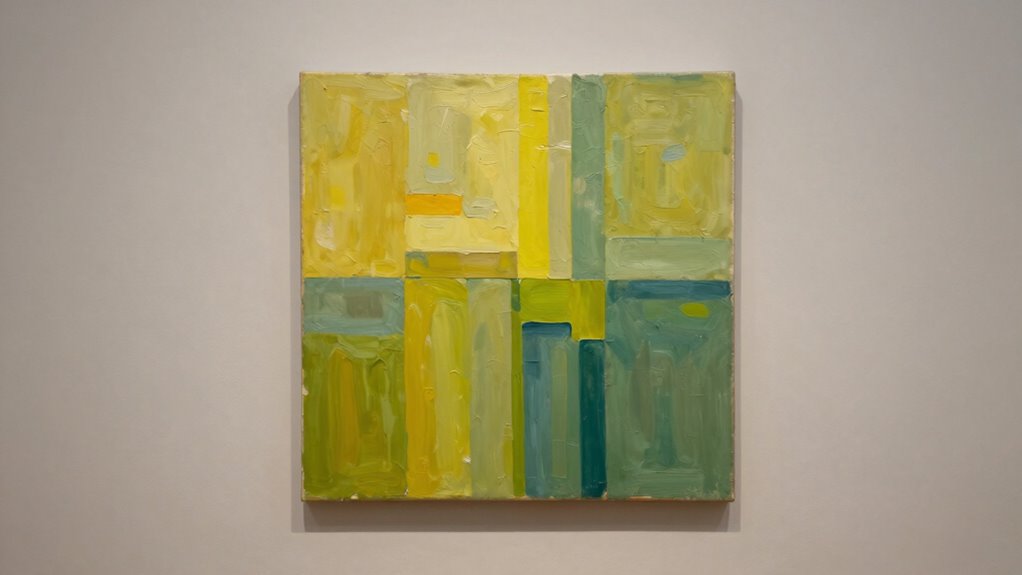

To avoid cropping mistakes and achieve perfect art reproduction, focus on framing your shot precisely so the artwork fills the frame without cutting off edges or important details. Use a tripod and keep your camera parallel to the art to prevent distortion, and make certain the entire piece is within the frame. Proper lighting and camera settings also help capture true colors and textures. Keep exploring these techniques to master flawless, crop-free images.
Key Takeaways
- Use a tripod and keep the camera parallel to the artwork to prevent distortion and unwanted cropping.
- Frame the artwork with proper margins, ensuring the entire piece is captured without cutting off edges.
- Shoot in RAW format for maximum flexibility in post-processing and to maintain original proportions.
- Set precise camera settings (low ISO, small aperture) to achieve sharp, correctly exposed images without cropping errors.
- Carefully align lighting to avoid shadows or hotspots that may lead to cropping or misrepresentation of the artwork.

Capturing the true essence of artwork through photography requires more than just pointing a camera and clicking the shutter. To produce a faithful reproduction, you need to master your lighting techniques and camera settings, guaranteeing every detail, color, and texture is accurately represented. Proper lighting is vital because it influences how the artwork appears in your photo. Soft, diffused light is often best, reducing glare and harsh shadows that can distort the piece’s true colors and surface qualities. You might consider using natural light near a large window or employing professional lighting setups with adjustable diffusers and reflectors. The goal is to evenly illuminate the artwork without creating hotspots or shadows that obscure details. When it comes to lighting techniques, positioning your lights at a 45-degree angle on either side of the piece can help minimize reflections and highlight textures effectively.
Equally important are your camera settings, which you must configure precisely to capture the artwork’s nuances. Start by setting your camera to a low ISO, ideally around 100 or 200, to prevent graininess and preserve image clarity. Use a small aperture, such as f/8 to f//11, to ensure the entire piece remains in sharp focus from foreground to background. Adjust your shutter speed to match the lighting conditions; if you’re using studio lights, a slower shutter speed might be necessary, but always ensure your camera is on a tripod to avoid camera shake. White balance is another essential setting—set it manually or choose a preset that matches your lighting setup to keep colors consistent and true to the original artwork. Avoid automatic settings that can fluctuate and introduce inaccuracies. Additionally, understanding lighting conditions and how they affect color rendering can greatly improve the accuracy of your photographs.
Pay close attention to your framing. Use a tripod to stabilize your camera and eliminate any potential blur. Keep the lens parallel to the artwork to prevent distortion and cropping errors. When capturing detailed textures or subtle color gradations, consider shooting in RAW format. This preserves maximum image data, giving you greater flexibility in post-processing to correct any slight deviations and enhance color accuracy. Remember, the goal is to make the digital image as close to the original as possible, so take your time to set everything up meticulously. By combining precise lighting techniques with carefully calibrated camera settings, you guarantee your photographs will serve as perfect reproductions of the artwork, allowing viewers to appreciate the piece in its true form without distortion or loss of detail.

Amazon Basics 50-inch Lightweight Portable Camera Tripod Stand with Quick-Release Plate, Adjustable Height, Aluminum, for Travel Photography, Champagne
- Includes Storage Bag: Zippered storage for portability
- Adjustable Height: 16.1 to 50 inches with lever-lock legs
- Lightweight and Portable: Only 1.23 lbs, easy to carry
As an affiliate, we earn on qualifying purchases.
As an affiliate, we earn on qualifying purchases.
Frequently Asked Questions
How Do I Choose the Best Camera Settings for Art Photography?
To choose the best camera settings for art photography, start with a camera sensor that captures fine detail. Use a small aperture, like f/8 to f/11, to guarantee everything is sharp from front to back. Keep ISO low to avoid noise, and shoot in RAW format for maximum editing flexibility. Adjust the aperture based on the depth you need, and always use a tripod to stabilize your shots for crisp, accurate reproductions.
What Lighting Conditions Are Ideal for Photographing Artwork?
You should aim for natural daylight with diffused lighting to capture artwork accurately. Choose a bright, overcast day or use sheer curtains to soften direct sunlight, preventing harsh shadows and glare. This creates even illumination, highlighting colors and details without distortions. Avoid direct flash or strong artificial lights, which can cause reflections or color shifts. Consistent, gentle lighting guarantees your photos reproduce the artwork’s true essence.
How Can I Prevent Reflections and Glare on Shiny Surfaces?
To prevent reflections and glare on shiny surfaces, you should use polarizing filters, which help reduce unwanted reflections. Adjust the angle of your camera and filter until you see the glare diminish. Keep in mind that slight angle adjustments can make a big difference, so experiment until you find the best position. This technique guarantees your artwork’s details are clear and accurately represented without distracting reflections.
What Post-Processing Techniques Improve Art Reproduction Quality?
Imagine your digital canvas as a mirror reflecting true artistry. You can enhance this reflection through post-processing by applying color correction, ensuring your colors match the original vibrancy. Noise reduction smooths out graininess, like silencing a noisy room to reveal clarity. These techniques refine your images, bringing out the artwork’s details and hues, making your reproduction as vivid and accurate as the real masterpiece.
How Do I Handle Fragile or Large Artworks Safely During Photography?
When handling fragile or large artworks, you should use proper handling equipment like gloves, support boards, or lifting straps to prevent damage. Always follow safety precautions by working with a partner, ensuring the area is clear, and using stable surfaces. Carefully lift and position the artwork, avoiding excessive force. Take your time, stay attentive, and prioritize safety to protect both yourself and the artwork during photography sessions.

Torjim Softbox Photography Lighting Kit, 16'' x 16'' Professional Softbox Lighting Kit with 85W 3000-7500K LED Bulbs, Studio Lights for Photography/Video Recording/Live Streaming/Portraits Shooting
- High-Quality Reflective Material: Made of PET fabric and nylon cover
- Even, Soft Lighting: Inner silver baffle for uniform light
- Energy-Saving LED Bulbs: 85W bulbs with 3000-7500K range
As an affiliate, we earn on qualifying purchases.
As an affiliate, we earn on qualifying purchases.
Conclusion
Remember, capturing art is like holding a mirror to the soul of the piece. Every detail, every hue, is a thread in its story. When you photograph with care, you’re not just reproducing an image—you’re preserving a legacy. Treat your camera as a key to unseal the artist’s vision. With patience and precision, your images become a bridge, connecting viewers to the essence of the art—truly a reflection of its spirit.
Wireless Camera Remote Shutter for Smartphones (2 Pack), zttopo Wireless Phone Camera Remote Control Compatible with iPhone/Android Cell Phone – Create Amazing Photos and Selfies, Wrist Strap Included
- Hands-Free Shutter Control: Compatible with Instagram and Snapchat
- Compact and Portable: Fits on keychain or in pocket
- Long-Range Connectivity: Operates up to 30 feet
As an affiliate, we earn on qualifying purchases.
As an affiliate, we earn on qualifying purchases.

Canon imagePROGRAF PRO-300 Wireless Color Wide-Format Printer, Prints up to 13"X 19", 3.0" LCD Screen with Profession Print & Layout Software and Mobile Device Printing, Black, One Size
- Creative Control: Full control of images and printing
- Ease of Use: Nozzle Recovery and Skew Correction
- Professional Quality: High-quality images with efficient workflow
As an affiliate, we earn on qualifying purchases.
As an affiliate, we earn on qualifying purchases.