To scan artwork like a pro, start with at least 300 DPI for good quality, increasing to 600 DPI for highly detailed pieces. Choose a higher bit depth, such as 24-bit or 48-bit, to capture richer colors and subtle shading. Use lossless file formats like TIFF or PNG to preserve quality, especially for editing or printing. Adjust colors and contrast afterward for accuracy. Keep exploring these settings to achieve professional results that truly showcase your artwork’s detail and vibrancy.
Key Takeaways
- Use a minimum of 300 DPI for high-quality scans; opt for 600 DPI for detailed or large artwork.
- Choose 24-bit or 48-bit color depth to capture subtle shading and complex color blends accurately.
- Save artwork in TIFF format for maximum quality and editing flexibility; consider PNG for archival purposes.
- Perform color correction and adjustments post-scan to ensure digital images match original artwork colors.
- Balance DPI, bit depth, and file type choices to optimize quality, file size, and editing potential for professional results.
Have you ever wondered how to capture your artwork with professional quality? The key lies in understanding the right scanning techniques and settings. When you’re scanning your art, two important factors to consider are color correction and file compression. These elements directly impact the final image quality and how easily you can store and share your work. Proper color correction ensures that the digital version accurately reflects your original colors, while effective file compression helps keep your files manageable without sacrificing detail.
Start by choosing the appropriate DPI (dots per inch). For artwork, a DPI of at least 300 is standard for high-quality prints, but if you want to preserve every detail, especially for large or detailed pieces, going up to 600 DPI is a good idea. Higher DPI settings capture more detail but also result in larger file sizes, so balance your needs with your storage capabilities. Remember, higher DPI isn’t always necessary unless you plan to print in large formats or require extensive detail in editing.
Bit depth is another vital aspect. It determines how many colors your scan can contain. A higher bit depth, such as 24-bit or 48-bit, allows for a broader range of colors and smoother gradients, which is essential for artwork with subtle shading or complex color blends. If you’re working with detailed paintings or illustrations, opting for a higher bit depth will give you more flexibility in editing and fine-tuning your digital version. Additionally, understanding digital image quality is crucial for achieving professional results.
When it comes to file types, TIFF is often recommended because it preserves maximum image quality, especially if you plan to do extensive editing or printing. However, TIFF files can be large, so you might need to consider file compression options that don’t compromise image integrity. JPEGs are more manageable in size and suitable for sharing online, but they involve lossy compression, which can degrade quality over time. For archival purposes or high-quality prints, stick with TIFF or lossless formats like PNG.
After scanning, you might want to perform color correction using photo editing software. This step ensures that the scanned image accurately reflects your original colors, especially if lighting conditions during scanning affected the colors. Proper color correction can also help you adjust contrast, brightness, and saturation, making your digital artwork look vibrant and true to life. By paying attention to these technical details—DPI, bit depth, file types, and post-scan adjustments—you’ll be well on your way to capturing your artwork like a pro, with files that are both high-quality and manageable.
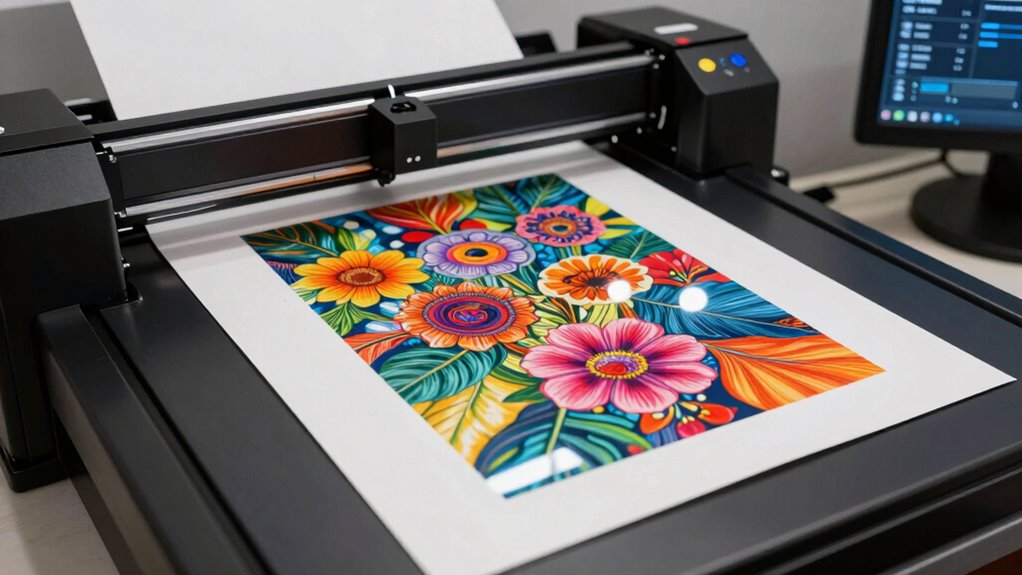
professional scanner for artwork
As an affiliate, we earn on qualifying purchases.
As an affiliate, we earn on qualifying purchases.
Frequently Asked Questions
How Do I Choose the Best Scanner for Artwork?
You should choose a scanner with high resolution settings, ideally at least 600 DPI, to capture fine details in your artwork. Make sure it’s compatible with your computer and software to avoid issues. Look for features like adjustable resolution and color accuracy to meet your creative needs. A versatile scanner that supports different file types also helps, so you can easily save and edit your work later.
What Are Common Mistakes When Scanning Artwork?
Imagine you’re tuning a musical instrument; mistakes like neglecting color calibration or setting resolution too low are like out-of-tune strings. You might end up with dull, inaccurate scans that don’t do your artwork justice. Always double-check your color calibration and resolution settings before scanning. Avoid rushing, as haste leads to blurry or pixelated images, much like a poorly played note—disappointing and off-key. Proper preparation guarantees your digital masterpiece hits the right note.
How Can I Optimize Scanned Images for Printing?
To optimize your scanned images for printing, start by setting the resolution to at least 300 DPI for detailed quality. Make certain color calibration is accurate to match your printer’s output, preventing dull or off-color prints. Use appropriate file types like TIFF or PNG for high quality. Adjust resolution settings and perform color calibration before scanning. This way, your digital files will produce vibrant, sharp prints that match your original artwork perfectly.
What Software Tools Are Best for Editing Scanned Artwork?
A stitch in time saves nine, so choose the right software to edit your scanned artwork. Adobe Photoshop is premier for color correction and file conversion, offering advanced tools for detailed edits. GIMP is a free alternative with robust features suitable for fine-tuning images. Both let you enhance your artwork efficiently, ensuring your digital files look their best before printing or sharing.
How Do I Archive and Organize My Digital Art Files?
To archive and organize your digital art files, use digital asset management software to categorize and tag your work for easy retrieval. Back up your files regularly with reliable cloud storage solutions, ensuring your artwork stays safe and accessible from anywhere. Create a consistent folder structure and rename files with descriptive titles. This way, you keep your digital art organized, secure, and ready for quick access whenever inspiration strikes.
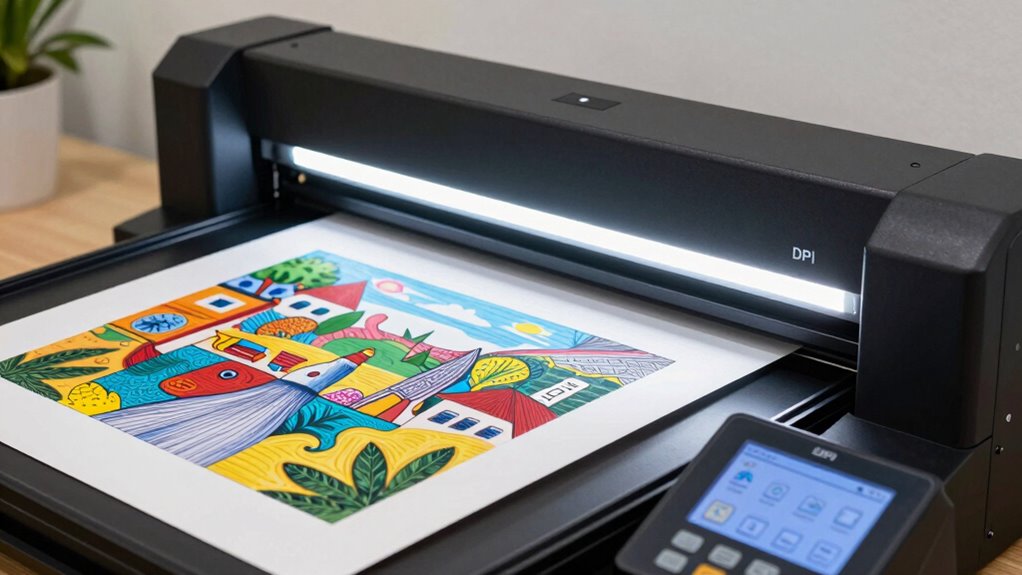
high resolution document scanner
As an affiliate, we earn on qualifying purchases.
As an affiliate, we earn on qualifying purchases.
Conclusion
Now that you understand DPI, bit depth, and file types, you’re well on your way to scanning artwork like a pro. Remember, mastering these details isn’t just about technical know-how—it’s about capturing the true essence of your art. Keep experimenting, stay patient, and don’t be afraid to learn from mistakes. After all, you’re in the driver’s seat; with practice, you’ll turn every scan into a masterpiece.
TIFF and PNG file format scanner
As an affiliate, we earn on qualifying purchases.
As an affiliate, we earn on qualifying purchases.
artwork scanning accessories
As an affiliate, we earn on qualifying purchases.
As an affiliate, we earn on qualifying purchases.