To make your upcycled furniture look intentional in your studio, focus on selecting sturdy pieces with character and adding finishing touches that enhance their charm. Use techniques like dry brushing, distressing, and layering colors for a textured, authentic feel. Seal your work to guarantee durability and aim for a cohesive style that complements your space. Small details and thoughtful placement help create a curated look—keep exploring to discover how to perfect your studio’s unique style.
Key Takeaways
- Choose vintage furniture with character and interesting details to add authenticity and visual appeal.
- Use consistent color palettes and DIY techniques like distressing and layering to create a cohesive, intentional look.
- Properly prepare and finish pieces with sealing and waxing to ensure durability and polished appearance.
- Incorporate design principles like Free Floating arrangements for balanced, curated studio aesthetics.
- Focus on making each piece reflect your personal style while harmonizing with the overall studio decor.
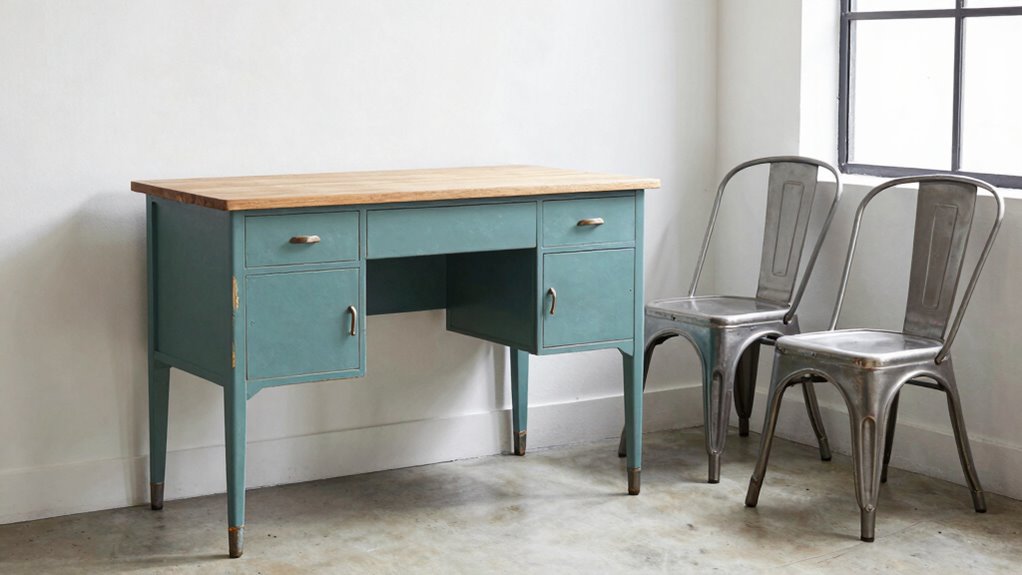
Transforming old furniture into stylish pieces for your studio not only saves money but also adds a unique touch to your space. When you’re upcycling, your goal is to make each piece look intentional, as if it belongs perfectly in your environment. One of the best ways to do this is by mastering DIY paint techniques. Instead of simply slapping on a fresh coat of paint, experiment with methods like dry brushing, stenciling, or distressing to create textures and finishes that add character. These techniques allow you to highlight the imperfections or give new life to worn-out surfaces, turning old furniture into eye-catching statements. You want your pieces to feel curated, not just refurbished, so take your time to layer colors or use waxing and sealing to achieve a polished, cohesive look. Utilizing Free Floating design principles can help you achieve a balanced and harmonious appearance in your studio furniture arrangements.
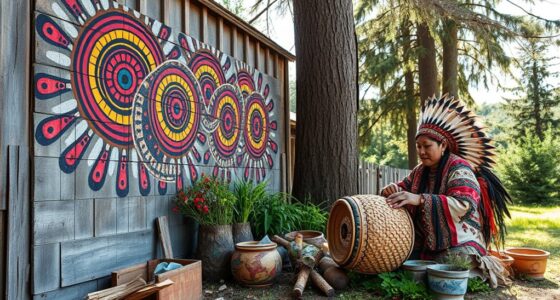
When selecting vintage furniture, choose pieces that have a story or a distinctive style that resonates with your aesthetic. Look for items with interesting details—think ornate legs, unique hardware, or aged patina—that can be accentuated through your DIY paint techniques. Vintage furniture selection is about more than just affordability; it’s about finding pieces that can be transformed into focal points with minimal effort. Avoid pieces that are structurally compromised or overly damaged, as repairs can sometimes detract from the charm rather than enhance it. Instead, opt for items that are sturdy but need a visual refresh, so your upcycling efforts are focused on aesthetics rather than extensive repairs.
Once you’ve selected your vintage piece, prep it thoroughly by cleaning and sanding to ensure the paint adheres well. Then, decide on your color palette and the style you want to achieve—whether that’s a sleek modern look or a shabby chic vibe. Use your DIY paint techniques to create depth and interest, layering different shades or adding subtle distress marks for authenticity. Don’t shy away from mixing finishes—matte, gloss, or satin—to add contrast and dimension. The goal is to make the piece look like it belongs in your studio, as if it was meant to be there all along. When finished, seal the surface to protect your work, and you’ll have a one-of-a-kind piece that’s both functional and expressive of your personal style.

Furniture Painting Kit Flipper Painter Furniture Upcycling Tote Bag
Furniture upcycling is a hobby for furniture flippers who need furniture flipping must haves and furniture flipping materials….
As an affiliate, we earn on qualifying purchases.
As an affiliate, we earn on qualifying purchases.
Frequently Asked Questions
How Do I Choose the Right Furniture Pieces for Upcycling?
You should choose furniture pieces with interesting shapes, sturdy construction, and potential for vintage restoration. Look for items that complement your studio’s color scheme, ensuring color coordination for a cohesive look. Prioritize pieces that can be easily repainted or repurposed, and consider their size and functionality. By selecting versatile, well-made furniture, you’ll create a curated, intentional space that feels stylish and personalized.
What Tools Are Essential for Upcycling Furniture Effectively?
Get your tools in order before you start your project. You’ll need a good sander for smooth sanding techniques and a variety of sandpaper grits. A screwdriver and a drill are essential for hardware selection and replacements. Don’t forget paintbrushes or rollers for finishing touches. With these tools, you’ll be able to breathe new life into your furniture, turning it into a stunning, intentional piece that makes a statement.
How Can I Ensure My Upcycled Furniture Fits My Studio’s Aesthetic?
To guarantee your upcycled furniture fits your studio’s aesthetic, focus on color coordination and style blending. Choose paint or finishes that complement your existing decor, and select hardware or details that match your overall vibe. Mix different styles thoughtfully, balancing vintage with modern elements. This intentional approach helps your furniture look cohesive and curated, making your studio feel personalized and stylish without appearing haphazard.
Are There Eco-Friendly or Non-Toxic Paints Suitable for Upcycling?
Yes, you can find eco-friendly paints and non-toxic finishes suitable for upcycling. Look for brands that specify low or zero VOC levels, ensuring they’re safe and environmentally friendly. These paints are perfect for creating a healthy studio space while maintaining a stylish look. Always check product labels for certifications like Green Seal or ASTM standards to confirm they’re truly non-toxic and eco-conscious, making your upcycled furniture both beautiful and safe.
How Can I Prevent My Upcycled Furniture From Looking Mismatched?
You might think mismatched furniture adds charm, but to keep it intentional, focus on color coordination and style consistency. Pick a unifying color palette or theme that ties everything together. Use similar hardware or finish types to create harmony. Even if pieces differ, aligning these elements guarantees your upcycled studio furniture looks deliberate, not random. It’s all about balancing variety with cohesion to make your space feel thoughtfully curated.
vintage furniture distressing tools
As an affiliate, we earn on qualifying purchases.
As an affiliate, we earn on qualifying purchases.
Conclusion
By upcycling furniture, you turn ordinary pieces into intentional art that reflects your studio’s unique story. Every scratch and paint stroke becomes a declaration to your creativity, transforming clutter into charm. Remember, your space isn’t just about looks—it’s about the soul you breathe into it. So, embrace the journey of upcycling, and let your studio stand as a vibrant proof that beauty truly emerges from the unexpected. After all, your space deserves to tell a story worth remembering.
DIY furniture sealing wax
As an affiliate, we earn on qualifying purchases.
As an affiliate, we earn on qualifying purchases.
studio furniture decor accessories
As an affiliate, we earn on qualifying purchases.
As an affiliate, we earn on qualifying purchases.