
TL;DR
A closet rig works mainly by reducing reflections and controlling low-frequency buildup, not by fully soundproofing. Proper placement, sealing gaps, and ventilation are key to a quiet, efficient workspace.
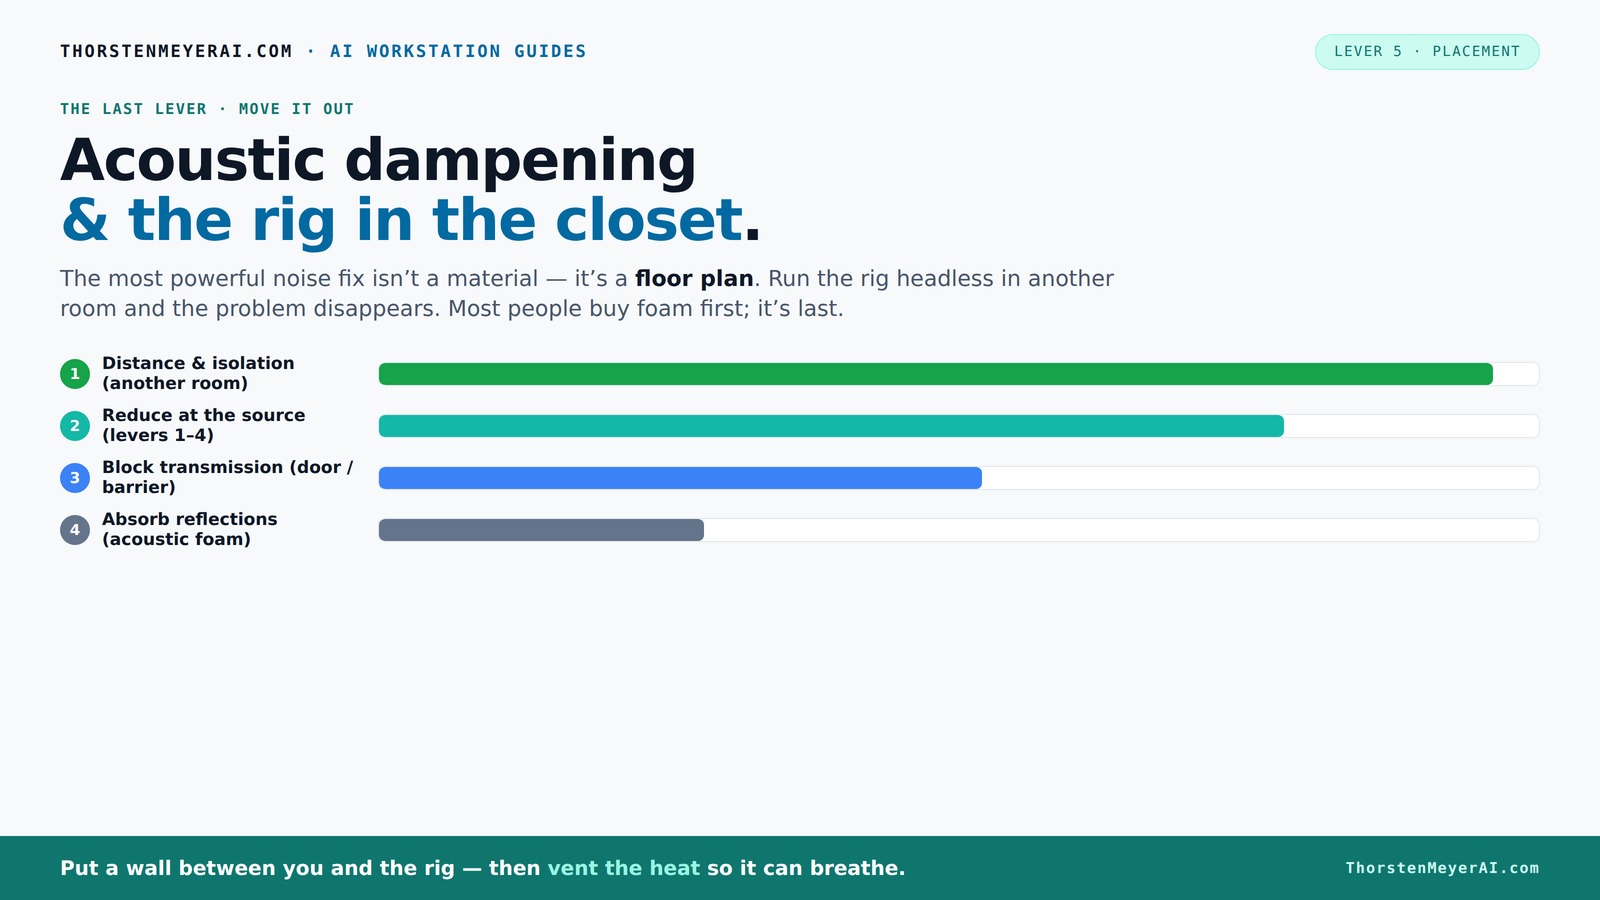
Acoustic dampening
& the rig in the closet.
The most powerful noise fix isn’t a material — it’s a floor plan. A rig you can’t hear because it’s in another room beats any amount of foam. Tap the approaches in Part 1 to see what actually works.
(another room)
(levers 1–4)
(door / barrier)
(acoustic foam)
Contain the noise, not the heat
Key Takeaways
- Moving your rig into a separate room or closet is the most effective way to eliminate noise.
- Proper ventilation is essential in a closet setup to prevent overheating and hardware throttling.
- Acoustic treatment in small spaces mainly reduces reflections and echo, not total soundproofing.
- Sealing gaps around doors and outlets drastically cuts sound leaks, often more than foam panels.
- Address low-frequency buildup with bass traps in corners to avoid muddy, boomy sound.

24 Pack Black 12 x 12 x 2 Inches Pyramid Designed Acoustic Foam Panels, Sound Proof Foam Panels for Walls, High Density and Flame-Retardant Acoustic Panels, Sound Panels for Recording and Home Studio
Exceptional Sound Absorption:These pyramid acoustic panels are engineered to effectively absorb sound waves, reducing echo and reverberation. With...
As an affiliate, we earn on qualifying purchases.
As an affiliate, we earn on qualifying purchases.
Why Moving Your Rig Is the First Step to Quieter Sound
The best way to cut noise is simple: put your equipment somewhere else. Moving your rig into a closet, basement, or spare room makes a huge difference. You don’t need to sit next to a noisy GPU tower. Instead, connect over the network and keep your workspace silent. A wired Ethernet connection is a must, and good ventilation is the secret sauce.
Imagine working on a high-powered AI workstation while the noise roars behind a closed closet door. You barely hear it, but it’s still working hard. This setup works mainly by distancing you from the source, which is more effective than any foam panel.

Audimute Soundproofing Acoustic Door Seal Kit - Door Sweep and Seal - (Large Size)
Includes (2) Door Seals (3/16" x 1/2" x 50') and (1) Door Sweep (1/2" x 1.5" x 25').
As an affiliate, we earn on qualifying purchases.
As an affiliate, we earn on qualifying purchases.
How a 'Rig in the Closet' Works — And Its Big Caution
Placing a powerful, heat-generating machine in a closet can silence your workspace. But here’s the catch: a sealed space traps heat. A GPU pulling 600W can turn a closet into an oven if you don’t manage airflow. That’s why proper ventilation is non-negotiable — passive vents, exhaust fans, or even ducted cooling help dissipate heat.
Serious soundproof cabinets combine acoustic foam with temperature-controlled exhaust fans to keep things cool and quiet. Without this, your system throttles or fans roar, defeating the purpose. Check out this guide for detailed cooling strategies.

Sound Addicted - Studio Monitor Isolation Pads for 5 Inch Monitors, Pair of Two High Density Acoustic Foam which Fits Most Speaker Stands | SMPad 5
SMPad 5 is made out of the highest quality acoustical foam (50kg/m^3 density).
As an affiliate, we earn on qualifying purchases.
As an affiliate, we earn on qualifying purchases.
Placement and Acoustic Treatment: Making Your Closet Sound Good
Placement is king. Position your mic and source to minimize reflections. For example, keep the mic away from parallel walls and reflective surfaces. Use the closet’s corners to your advantage by installing foam panels or blankets at reflection points — the spots where sound bounces back to your mic.
Inside the closet, soft materials like acoustic foam, blankets, and rugs absorb sound — especially reflections that cause echo or 'boxy' tones. Heavy curtains or clothes can be surprisingly effective too. A well-placed panel can cut echo by 50% or more.
Here’s a quick tip: treat the reflection points first. Use a mirror to find where sound bounces and place panels accordingly. This is more effective than covering every wall with foam.
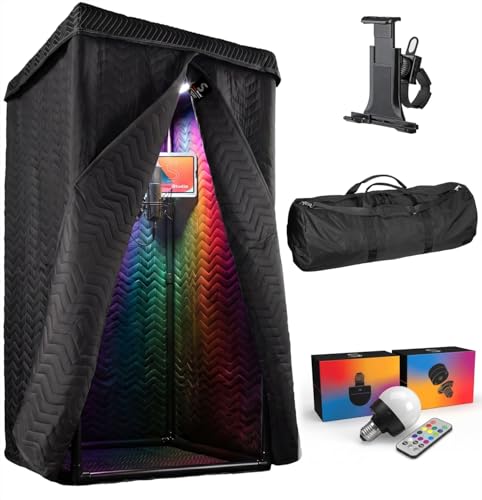
'Snap Studio' XL Portable Recording Booth | '#1 Vocal Booth' Rolling Stone | Record Crisp Dry Echo-Free Vocals at Home or On-The-Road | The Original & Best Studio Booth, Trusted By Singers & Voiceover
#1 Recommended Portable Recording Booth — Featured by Rolling Stone Magazine as the “best sound booth”, Snap Studio’s...
As an affiliate, we earn on qualifying purchases.
As an affiliate, we earn on qualifying purchases.
Sealing Gaps and Doors — Stop Sound Leaks in Their Tracks
Gaps around doors, outlets, and seams are the sneakiest sound leaks. Even a tiny crack can let through a surprising amount of noise — think of it as a tiny hole in a dam. For more tips on sealing, see this article.
If your closet door is hollow or thin, adding mass with a heavy blanket or foam can dramatically improve isolation. For more serious setups, consider a door seal kit or a DIY soundproof door.
Remember, sound leaks are often more about gaps than the walls themselves. Addressing these will make your entire setup much quieter.
Controlling Low-End and Reducing 'Boxy' Sound in a Tiny Closet
Small rooms often suffer from bass buildup and booming echoes. That’s because low frequencies bounce around and create standing waves. To tame this, add bass traps in corners and use thick, dense panels. These help absorb the low-end and smooth out the sound.
Imagine a closet where vocals sound clear but the bass is muddy and boomy. Proper low-frequency treatment can fix that. Use 4-inch thick bass traps in the corners for best results, especially if you notice low-end ringing or boominess.
Recent trends favor modular, removable treatments like foam wedges that can be adjusted as needed. Check out [this guide](https://thorstenmeyerai.com/low-noise-pc-cases-airflow/) for more on treatment options.
Power, Ventilation, and Safety in Your Closet Studio
Running a rig in a closet requires smart power and cable management. Use power strips with surge protectors and keep cables organized to prevent tripping or overheating. Ventilation is equally critical — a small fan or ducted system can keep your gear cool and safe. For more safety tips, see this article.
Remember, heat can kill your hardware over time. If you’re using a closet as a recording or AI workspace, plan for airflow and easy access for maintenance. For detailed safety tips, see [this article](https://thorstenmeyerai.com/reduce-heat-noise-ai-workstation/).
DIY Closet Booths: Modular, Affordable, and Effective
DIY closet booths are popular because they’re flexible and affordable. Use removable foam panels, thick blankets, and curtain rods to build a modular setup. You can easily adjust or remove treatment as needed. This approach is perfect for small budgets or temporary setups.
Start with treating reflection points, sealing gaps, and adding bass traps if needed. This combination makes a noticeable difference in sound clarity. Plus, you can upgrade or change your setup without tearing down walls.
Check out this guide for ideas on materials and design tips.