
Creating an interior design board is simple and fun. Start by gathering inspiration from platforms like Pinterest and collect images that resonate with your style. Organize these images in a digital folder or use tools like Canva or PowerPoint for layout. Choose a focal point to guide your design choices and establish a cohesive color palette. Make sure to include measurements for realistic representations. Finally, save your design board in formats like JPEG or PDF for easy sharing. Keep updating it as your preferences evolve, and you'll find more tips and insights on enhancing your design process. Consider adding textures and patterns to your interior design board to add depth and visual interest. Don’t be afraid to mix different styles and elements to create a unique and personalized look. You can also incorporate vision board ideas that inspire you, such as quotes, words, or symbols that hold special meaning to you. This will help bring a sense of personal connection to your design and make your space truly your own.
Key Takeaways
- Gather inspiration from platforms like Pinterest and create a digital folder for organizing design ideas.
- Utilize design tools such as Canva or PowerPoint to layout your design board effectively.
- Establish a cohesive color palette and incorporate images of chosen items to maintain visual coherence.
- Choose a focal point to anchor your design and guide your color and material choices.
- Save and export your design board in formats like JPEG or PDF for easy sharing and future reference.
Understanding Design Boards

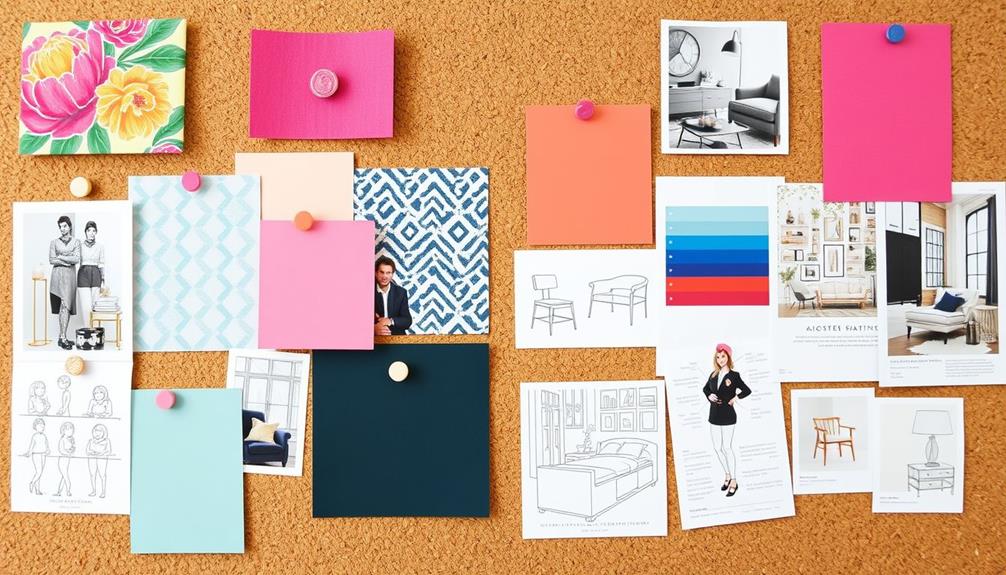
A design board is a powerful tool that visually captures the elements of your home decor, helping you see how different pieces work together. It serves as a visual representation of your intended aesthetic, allowing you to explore colors using swatches, fabrics, and images before making any purchases. By creating a design board, you can establish a cohesive concept that guides your styling choices throughout the design process. Incorporating ideas like cozy teenage girl room colors can add warmth and personality to your design board, further enhancing your vision.
Design boards enhance decision-making by providing a clear overview of how various design elements—like textures, layouts, and color schemes—interact. This clarity makes it easier to communicate ideas with designers or clients, ensuring everyone is on the same page. Instead of diving into complex design software, a simple board can save you time and money while still delivering a professional feel to your project.
Moreover, design boards act as a reference point as you progress, helping you stay true to your original vision. Whether you're redecorating a single room or planning an entire home, understanding and utilizing design boards can simplify your approach and lead to more satisfying results.
Benefits of Design Boards
Design boards let you visualize your ideas, making it easier to see how different elements fit together.
They enhance communication clarity between you and your designer, ensuring everyone's on the same page.
Visualize Your Ideas
Visualizing your ideas becomes much easier with an interior design board, as it allows you to see how different decor elements come together. Design boards serve as a cohesive concept, helping you understand the overall aesthetic of your space before making any purchases. This visual representation streamlines your planning process and saves both time and money.
Here's a quick overview of how design boards benefit your project:
| Benefit | Description |
|---|---|
| Enhanced Visualization | See how decor elements work together visually. |
| Organized Planning | Keep your ideas systematically arranged. |
| Informed Decision-Making | Make smarter choices based on visual context. |
| Clear Aesthetic Focus | Maintain a consistent theme throughout your design. |
Using a design board, you can effectively organize your thoughts and reduce guesswork during the decorating process. It allows you to visualize your ideas clearly, ensuring that your interior design project stays on track. By representing your ideas visually, you're set up for success, making every decision count towards creating the space you envision.
Enhance Communication Clarity
Enhancing communication clarity is one of the key benefits of using an interior design board. Design boards serve as a powerful visual communication tool that bridges the gap between you and your designer. By providing a tangible representation of design ideas, these boards reduce miscommunication and guarantee you both align on aesthetic preferences, styles, colors, and materials.
Throughout the design process, design boards act as a crucial reference point, allowing for easier discussions and adjustments based on a shared visual understanding of the project. This clarity streamlines decision-making, as they encapsulate all relevant elements in one cohesive layout, minimizing any confusion about your choices and selections.
Moreover, design boards enhance collaboration by facilitating feedback and input from you. This guarantees your preferences aren't only heard but integrated into the final design.
With a clear visual representation, both you and your designer can make informed decisions that reflect your vision. In the end, using design boards not only clarifies communication but also fosters a more collaborative and satisfying design experience.
Streamline Design Decisions
Using an interior design board not only improves communication but also greatly streamlines your design decisions. By consolidating all your design inspiration in one place, a design board helps you visualize how colors, textures, and furniture interact. This cohesive visual reference reduces overwhelm and confusion, enabling you to focus on what works best for your space.
Here's how a design board can streamline your process:
| Benefits | How It Helps | Outcome |
|---|---|---|
| Visual Consolidation | Combines elements for clarity | Clearer design vision |
| Decision-Making | Evaluates color and texture combinations | Informed choices |
| Cost Efficiency | Prevents costly mistakes in purchases | Budget-friendly solutions |
| Selection Process | Establishes a focal point and theme | Simplified choices |
| Collaboration Tool | Facilitates discussions and feedback | Aligned project vision |
Steps to Create Your Board

Gathering inspiration is the first essential step in creating your interior design board. Start by exploring platforms like Pinterest, where you can collect images that reflect your desired products, color palettes, and textures.
Consider incorporating elements from Island Getaways to add a touch of adventure and luxury to your design. Narrow your selections to focus on specific styles or themes, ensuring your collection of ideas aligns with your vision.
Next, organize your images in a digital folder or mood board template. It's vital to include measurements and realistic representations of furniture and decor items to visualize how they'll fit in your space.
You can create a mood board using design software like Canva or PowerPoint. Layer your images effectively, adding background colors or textures to enhance the visual appeal.
Once you're satisfied with your design mood boards, it's time to save and export your final design board. Opt for formats like JPEG or PDF for easy access and sharing with others.
Keeping your design board handy will provide you with ongoing inspiration and guidance throughout your decorating project, making it a valuable tool as you bring your interior vision to life.
Establishing a Focal Point
When you're establishing a focal point, start by choosing a standout item that captures attention, like a bold rug or striking artwork.
This choice will guide your complementary design decisions, ensuring everything from colors to materials aligns with your central feature.
Choosing a Standout Item
Establishing a focal point is essential for creating an effective interior design board, as it anchors the overall aesthetic and guides your design choices. A standout item, like a unique furniture piece or artwork, serves as this focal point, simplifying your design process and enhancing coherence.
Here's how to choose the perfect standout item:
- Select a Distinctive Item: Look for furniture pieces or decor that truly capture attention, such as a bold sofa or an eye-catching rug.
- Consider Scale and Visual Weight: Verify the item has the right size and presence to draw the eye without overwhelming the space.
- Align with Intended Style: Choose something that resonates with the room's purpose and overall style, verifying it feels natural in the environment.
- Create Complementary Elements: Think about how other design elements will work with your focal point. They should enhance, not compete with, the standout item.
Complementing Design Choices
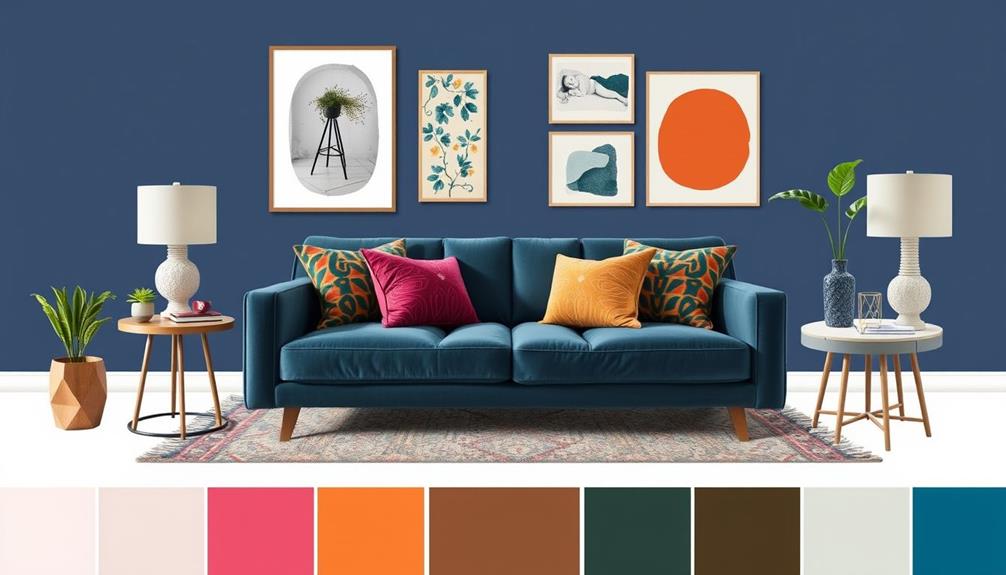
A well-chosen focal point not only anchors your design but also influences every other choice you make in the space. This standout element, whether it's a striking piece of furniture or artwork, is vital for establishing a cohesive environment. It dictates the color palette and style for the entire room, ensuring all design choices align seamlessly.
To help you visualize the impact of focal points, consider the following table:
| Focal Point Example | Design Choice Impact |
|---|---|
| Statement Sofa | Sets the color palette |
| Bold Artwork | Guides complementary decor |
| Unique Light Fixture | Influences room's aesthetic |
| Large Area Rug | Defines space layout |
| Accent Wall | Enhances visual interest |
Enhancing Space Aesthetics
Choosing a strong focal point not only anchors your design but also enhances the overall aesthetics of the space. A well-defined focal point simplifies your interior design project by providing a clear anchor from which all other design elements can complement and enhance the visual appeal.
Here's how to establish an effective focal point:
- Select a standout item: Choose a bold piece of furniture, large artwork, or an eye-catching rug that draws attention.
- Align with the room's purpose: Guarantee the focal point resonates with the intended atmosphere and enhances functionality.
- Incorporate complementary colors: Use colors and textures around the focal point that elevate the design, creating a cohesive look.
- Create balance: Arrange other elements in the room to support the focal point, ensuring a harmonious flow throughout the space.
Tools for Design Boards
Creating an effective interior design board requires the right tools to bring your vision to life. Here are some popular options you can consider for your design board:
| Tool | Description |
|---|---|
| Canva | A user-friendly graphic design platform, perfect for beginners to create stunning design boards with drag-and-drop functionality. |
| Microsoft PowerPoint | Widely accessible, offering solid image formatting capabilities, making it useful for basic design needs. |
| Adobe Photoshop | Ideal for experienced users needing advanced editing features, although it requires a subscription. |
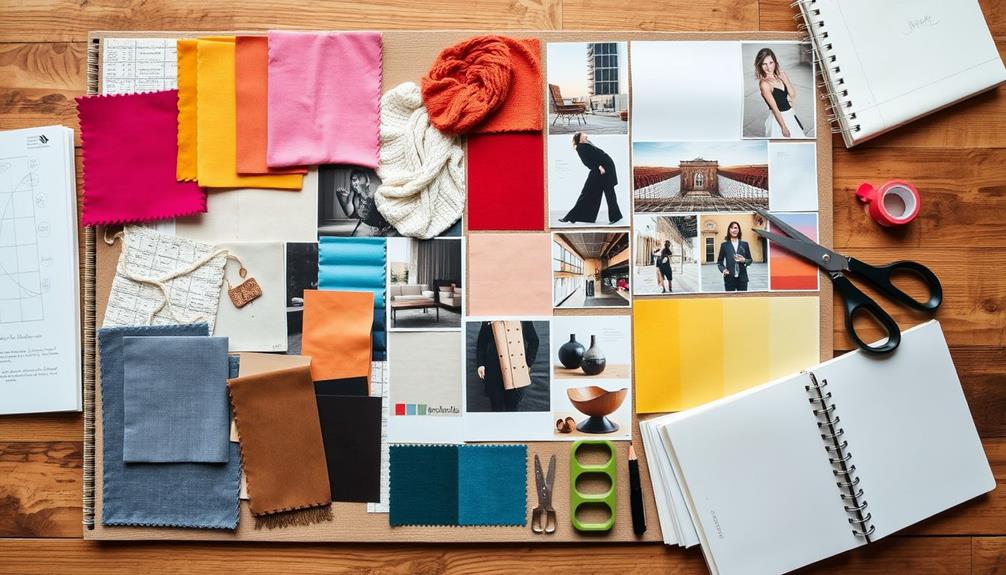
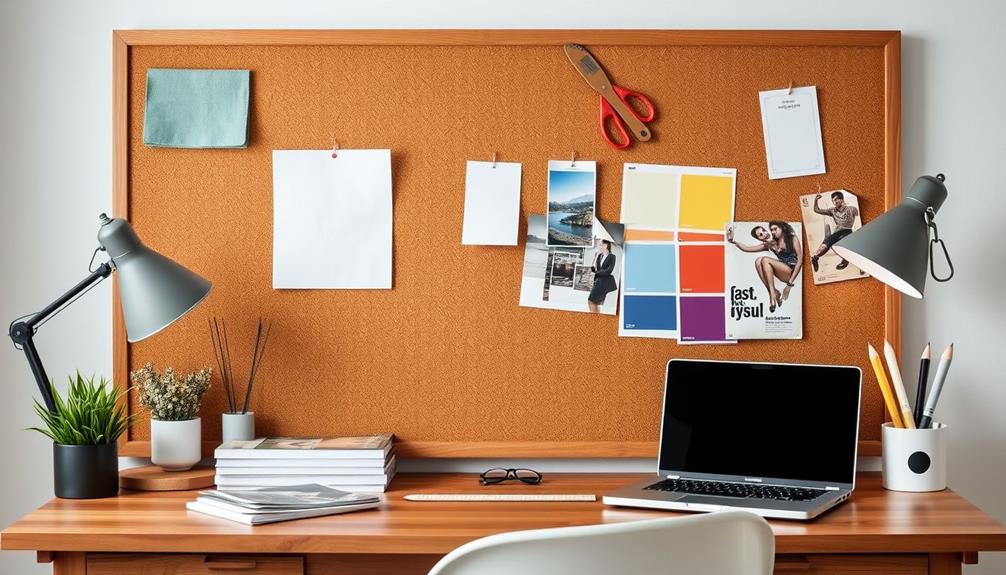
In addition to these digital options, you can also create a physical interior design mood board using corkboards or poster boards. This tactile approach allows you to assemble cutouts, fabric samples, and other materials using scissors and glue. If you're looking for an online graphic design tool, consider PicMonkey for its variety of templates and easy editing features. With these tools at your disposal, you can effectively visualize your design ideas, whether digitally or physically, and even remove backgrounds from images to enhance your design board further.
Image Sourcing Techniques
Once you've gathered your tools for designing, the next step is to focus on sourcing images that will bring your vision to life.
Effective image sourcing techniques are essential for creating a stunning interior design board. Here are some tips to get you started:
- Use Search Engines: Utilize Google Images and product websites like Overstock.com and Target.com to find high-quality images with plain backgrounds. This guarantees clarity and focus on the items.
- Prioritize Simplicity: Look for images that showcase items without accessories. This helps align with your desired aesthetic and makes it easier to integrate them into your design board.
- Explore Pinterest: Create a dedicated Pinterest board to gather inspiration. Pin images of textiles, furnishings, and decor that resonate with your design theme.
- Capture Existing Items: For items you want to keep in the room, take photos of them first. This sets a baseline for your design board and guides your color palette.
Editing and Adjusting Images

Now that you've gathered your images, it's time to refine them for your design board.
Use background removal methods to focus on key elements, making your visuals pop.
Adjust the scale and crop images as needed to create a cohesive and appealing layout that aligns with your vision.
Image Sourcing Techniques
An effective image sourcing technique is essential for assembling your interior design board. Start by collecting high-quality images from online product listings. Look for those with plain white backgrounds, as they're easier to edit and integrate into your design.
Here are some steps to follow for successful image sourcing:
- Select High-Quality Images: Guarantee that the images are clear and visually appealing.
- Use a Background Remover: Tools like Canva's background remover can help you eliminate unwanted backgrounds, allowing for seamless layering.
- Adjust Image Scale: Use website rulers to accurately represent the sizes of furniture and decor elements on your board.
- Crop for Cohesion: Focus on essential parts of each item to create a cohesive layout that maintains visual appeal.
Once you've edited your images, save and organize them in dedicated folders on your computer. This way, you can easily access your edited images during the design board creation process.
Following these image sourcing techniques will guarantee your board looks polished and professional!
Background Removal Methods
Effectively removing backgrounds from images is vital for creating a polished interior design board. Background removal enhances the professional appearance of your design boards, allowing for a cleaner, more cohesive visual presentation of your design elements.
Tools like Canva make this process easy with their "Remove Backgrounds from Images" feature, which lets you eliminate unwanted backgrounds in just a few clicks.
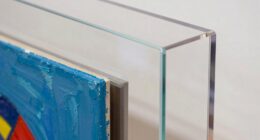
If you're using PowerPoint, you can also utilize the "Remove Background" tool to isolate images effectively. For more detailed adjustments, the Magic Eraser tool in Canva is invaluable. It helps refine edges and improves the overall look of layered images, making sure they blend seamlessly with your board.
Don't forget about scaling! Accurate scaling of images is essential for a harmonious design layout. To guarantee that fabric patterns and other elements are proportionate and visually appealing, consider using website rulers for precise measurements.
Creating Your Design Board

Creating a design board is an exciting way to visualize your interior design ideas. It helps you organize your inspiration and guarantee your room design flows beautifully. Here's how to create your design board effectively:
- Gather Inspiration: Start by collecting images from platforms like Pinterest. Look for furniture, decor, and color palettes that resonate with your desired style.
- Choose Your Tool: Use a design tool like Canva or Microsoft PowerPoint. These platforms allow you to easily manipulate and arrange images and elements on your design board.
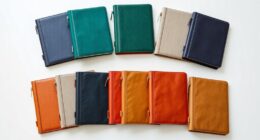
- Set a Color Palette: Begin with a cohesive color palette that sets the tone for your design. Stick to 3-5 main colors for focus and clarity.
- Incorporate Images: Add images of your chosen furniture and decor items. Don't forget to include measurements to guarantee everything fits well in your intended space.
As you work, remember to regularly update your design board to reflect any new ideas or changes.
This will help you maintain a clear vision throughout your design process. Happy designing!
Saving Your Design Board

Saving your design board is essential for keeping your ideas organized and accessible. To do this effectively, use the export function in your design software to convert your board into a JPEG or PDF format. This makes sharing and accessing your design board a breeze.
Make certain to maintain a digital copy in a dedicated folder on your computer. This way, all related images and files are organized and easily retrievable.
It's also important to regularly update your saved design board to reflect any changes in your design preferences or project details, keeping it relevant and useful.
Utilizing cloud storage services like Google Drive or Dropbox is a smart move. This allows you to back up your design board, access it from multiple devices, and guarantees you won't lose your work.
When saving your design board, consider naming the file with a clear and descriptive title that includes the project name and date. This strategy will enhance your organization and make retrieval easier later on.
Inspiration and Resources

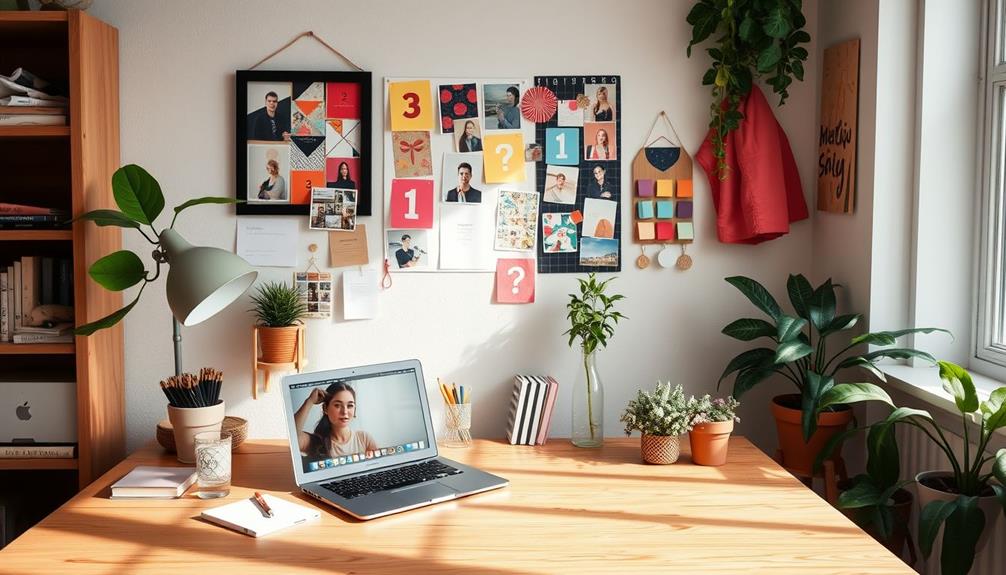
Gathering inspiration and resources is an essential step in the interior design process. An inspiration board is your creative canvas, and utilizing various tools can elevate your design game. Here's how to harness inspiration effectively:
- Pinterest Boards: Create dedicated boards to curate images of textiles, furnishings, and decor that resonate with your style. This visual collection helps you identify trends and preferences, similar to how certain zodiac signs may influence perceived attractiveness and charm.
- Design Blogs: Explore design blogs and websites for trend insights and visual ideas. These resources provide context that can refine your concept and selections.
- Google Images: Use Google Images to search for specific products or styles. Save high-quality images with plain backgrounds for clarity when assembling your inspiration board.
- Color Schemes: Incorporate color palette generators, like encycolorpedia.com, to develop a cohesive color scheme. This enhances the overall aesthetic of your design board.
Regularly updating and revisiting these sources will keep your ideas fresh and aligned with both current trends and your personal taste.
Embrace these tools, and watch your design vision come to life.
Conclusion
Creating an interior design board is like building a visual roadmap for your space. By gathering your ideas and inspirations, you'll find it easier to visualize how your design elements come together. Remember, this board is a living document—feel free to adjust and refine it as your vision evolves. With your board in hand, you're ready to transform your space into something truly personal and inviting. Happy designing!