To use SketchUp for interior design, start by familiarizing yourself with its interface and tools. Create a 2D floor plan to establish room dimensions and wall placements. Measure existing elements and document them directly on the screen to guarantee precision. Organize your model using layers for better control and easier comparisons. Take advantage of the 3D Warehouse to access pre-made furniture and decor models, customizing them to fit your vision. Lock geometry once positioned to maintain structural integrity. By following these steps, you can streamline your design process and enhance client communication. There's more to explore as you refine your skills.
Key Takeaways
- Start with a 2D template to establish room layouts and measure wall dimensions accurately for precise design planning.
- Utilize layers to organize design elements, allowing you to toggle visibility and streamline your workflow.
- Lock geometry after positioning to maintain structural integrity and prevent accidental alterations during the design process.
- Access the 3D Warehouse for pre-made models that can be customized to fit your project needs, saving time and enhancing presentations.
- Create detailed documentation, including 2D plans and lighting layouts, to effectively communicate your design vision to clients and contractors.
Top picks for "sketchup interior design"
Open Amazon search results for this keyword.
As an affiliate, we earn on qualifying purchases.
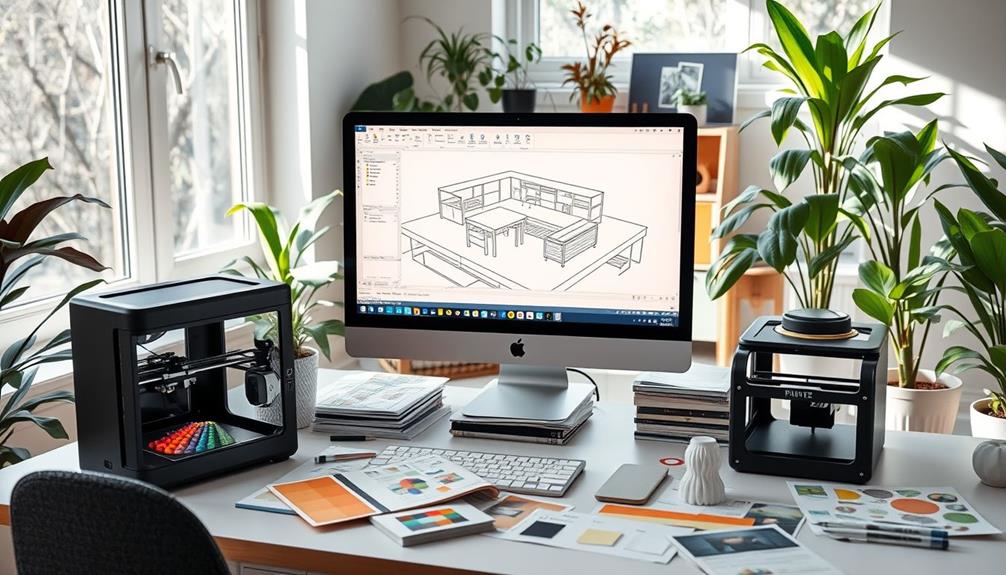
Getting Started With Sketchup
Getting started with SketchUp can feel overwhelming, but it's all about mastering the tools at your disposal. First, take some time to familiarize yourself with SketchUp's interface and tools. This familiarity will enhance your overall modeling efficiency, essential for your interior design projects. Before diving into your projects, practice creating simple shapes and objects to build your confidence and understanding of the tools. Once you feel comfortable with the basics, you can start using SketchUp for presenting your interior design ideas to clients and stakeholders. The more proficient you become with the software, the more professional and polished your presentations will be, ultimately leading to greater success in your design career.
Consider drawing inspiration from breathtaking destinations that promise adventure and luxury, as you conceptualize your spaces. Start with a 2D template to sketch rough layouts, ensuring you incorporate precise measurements directly on the screen. This approach will give you a better spatial understanding of your project.
Focus on establishing large-scale aspects of your design first, like wall placements and room dimensions. Once you have a solid foundation, you can explore finer details and aesthetics.
Utilize layers to organize your model effectively; this allows you to toggle different design options on and off without disrupting your entire layout, streamlining your design process.
Lastly, once you've positioned your geometry accurately, lock it in place. This step maintains structural integrity and prevents accidental alterations while you experiment with various interior elements.
Measuring Techniques

When you're working on your interior design project in SketchUp, accurate measurements are essential for achieving a successful layout.
Documenting existing elements like wall lengths and ceiling heights helps you create a precise model that reflects the actual space.
This attention to detail not only enhances your design but also guarantees client satisfaction.
Accurate Measurements Importance
Accurate measurements play an essential role in interior design, as they guarantee every element fits seamlessly within the space. When you're creating a reliable floor plan, precise measurements guarantee that furniture, fixtures, and other elements align perfectly.
Always document finished opening dimensions for doors and windows; this consistency is crucial for your model.
In complex layouts, traditional measuring techniques mightn't suffice. That's where triangulating unknown wall angles from known reference points comes in handy. This method enhances your precision and helps avoid costly mistakes.
Additionally, using offset reference lines simplifies the measuring process for complex shapes, ultimately improving the accuracy of your designs.
Maintaining a detailed record of existing room elements is another critical step in space planning. This practice not only aids you in creating scaled drawings but also reflects the true dimensions of the space you're working with.
Documenting Existing Elements
Documenting existing elements in your space is crucial for creating an accurate SketchUp model. Start by measuring all key components, including walls, doors, and windows. Use finished openings as reference points to guarantee precision in your measurements.
It's best to document these measurements directly on the screen during modeling; this helps you avoid transcription errors and keeps your design process clear.
For unknown wall angles, utilize triangulation techniques. By measuring from known reference points within the room, you can determine these angles accurately.
When dealing with complex shapes, implement offset reference lines. This technique helps maintain accurate geometry and eases the modeling of intricate designs.
As you progress, consistently verify the accuracy of your measurements against existing elements. This practice enhances the reliability of your SketchUp floor plans and assures that your design aligns with reality.
Creating Floor Plans

Creating an effective floor plan in SketchUp starts with drawing a 2D layout that clearly establishes your design's structure.
Begin by measuring wall dimensions and incorporating existing room elements to create a reliable and scalable floor plan model. This organized approach guarantees that your design aligns with reality before you start adding walls and other features.
Here are some tips to enhance your floor planning process:
- Use accurate measurements: Confirm all dimensions are precise to avoid misalignment later on.
- Group components: Keep your walls, furniture, and other elements organized, preventing accidental modifications during the design process.
- Generate 2D plans from 3D models: This technique helps visualize the space effectively while maintaining a structured model.
Organizing With Layers
When you organize your design in SketchUp using layers, you gain better control over your project.
By effectively managing layers, you can easily toggle between different elements, making adjustments without cluttering your workspace.
This approach not only boosts your efficiency but also helps maintain the integrity of your overall design.
Benefits of Layering
Layering in SketchUp is a game changer for interior designers, offering a structured approach to managing complex models. By using layers, you can control visibility and isolate specific elements like furniture, walls, and electrical plans without affecting the entire model.
This level of organization not only streamlines your workflow but also enhances overall efficiency in your interior design projects.
Here are some key benefits of layering:
- Simplifies Comparison: Create separate layers for different design options, allowing you to toggle them on and off for easy comparison of layouts and aesthetics.
- Prevents Errors: Organizing geometry into layers helps maintain clarity, preventing accidental merging of elements and ensuring adjustments can be made independently.
- Improves Collaboration: An organized layering system clearly delineates design choices and project phases, making it easier for you to collaborate with clients and contractors.
Effective Layer Management
Frequently organizing your layers in SketchUp can greatly enhance your interior design workflow. By using layers, you can manage different design elements separately, allowing you to toggle visibility for specific layouts without altering the overall model. This organization prevents unintended merging of geometry, helping you maintain clarity in your interior space.
You can create distinct layers for various aspects of your design, such as furniture, lighting, or structural elements. This makes it easier to isolate and modify individual components as needed. When you implement a structured layer system, it not only streamlines your workflow but also facilitates quick revisions and adjustments, saving you valuable time.
Moreover, effective layer management enhances collaboration. If you're working with a team, multiple designers can work on different layers simultaneously without interfering with each other's progress.
This proactive organization is essential in fast-paced design environments, where clarity and efficiency are key.
Maintaining Structural Integrity

Maintaining structural integrity in your SketchUp model is vital for effective interior design. When you're working on your floor plan, it's essential to guarantee that foundational elements remain untouched while you experiment with various layouts.
Here are some key tips to help you achieve this:
- Lock Your Geometry: After positioning walls and floors, lock them in place to prevent accidental movements during further modeling.
- Use Groups and Components: By organizing your model into groups and components, you minimize the risk of unintentionally merging elements, which helps preserve the accuracy of your structural layout.
- Establish Layer Hierarchy: Create a clear hierarchy of layers for different design aspects, allowing focused modifications while keeping core structural elements intact.
Additionally, regularly saving and backing up your model protects against unintended changes that could compromise your design.
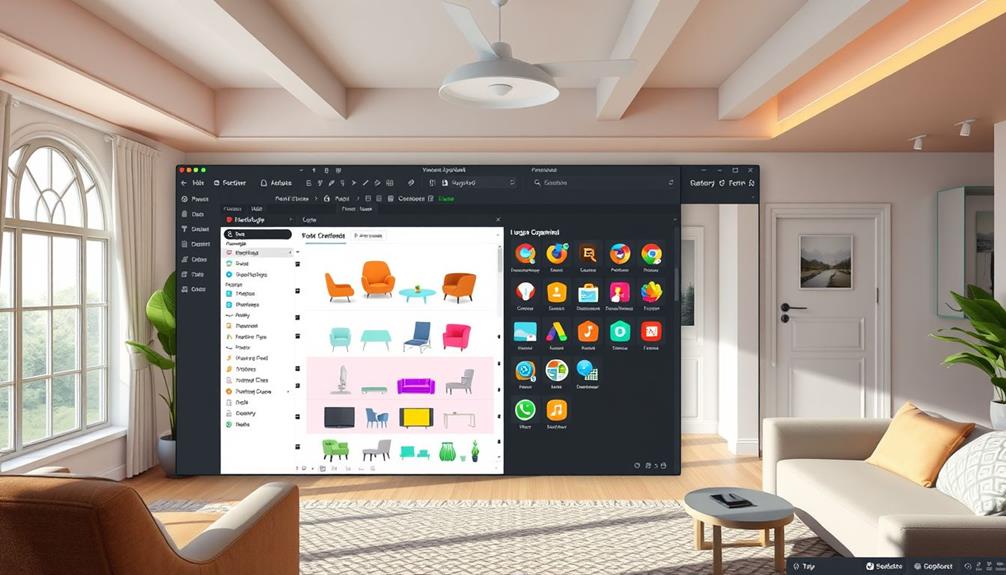
Utilizing 3D Warehouse
The 3D Warehouse is a game-changer for interior designers using SketchUp, offering a treasure trove of pre-made models for furniture, fixtures, and decor. This vast online repository can greatly speed up your design process and save you time. You can easily search for specific items using targeted keywords, categories, or filters, allowing you to find relevant models quickly.
Here's a quick overview of what you can expect from the 3D Warehouse:
| Feature | Benefit |
|---|---|
| Pre-made Models | Access thousands of ready-to-use assets |
| Customization | Modify models to fit your project needs |
| Visual Presentation | Enhance client presentations with realistic representations |
| Quality Control | Be cautious about model compatibility and performance |
While the 3D Warehouse is an invaluable resource, always check the quality of the models you choose. Not all assets are optimized for SketchUp, which may affect your project's performance. By leveraging the 3D Warehouse effectively, you can create stunning designs that resonate with your clients while maintaining efficiency.
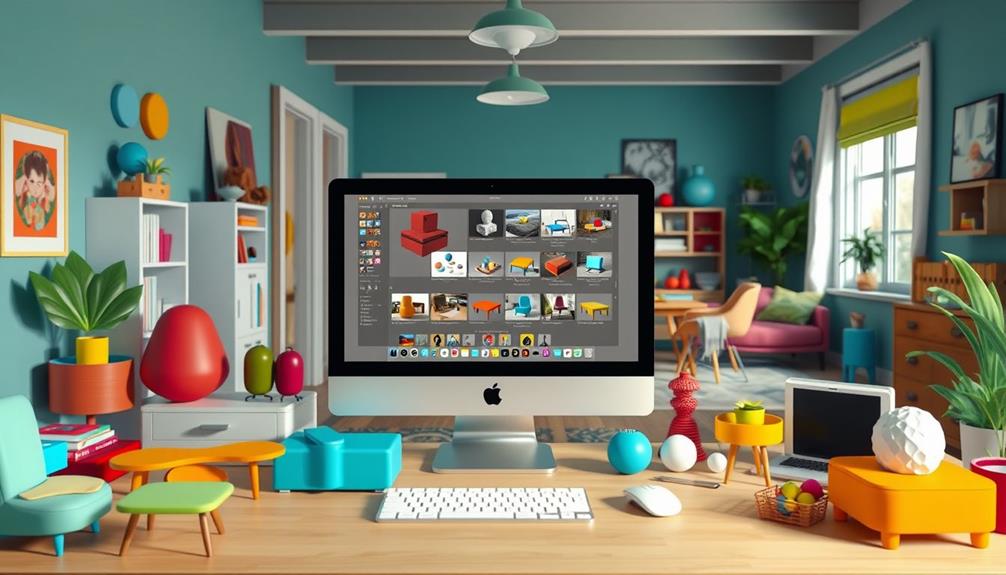
Adding Furnishings and Decor
To create a compelling interior design in SketchUp, adding furnishings and decor is essential. By utilizing the 3D Warehouse, you gain access to a vast library of models that can be imported into your project, enhancing realism and helping clients visualize the finished space.
Here are some tips to take into account when adding furnishings and decor:
- Match Scale: Verify that the scale of imported furnishings fits your floor plan to maintain proportion and avoid overcrowding.
- Customize Models: Don't hesitate to modify furniture dimensions or materials to align with your design aesthetic and functional needs.
- Organize Efficiently: Group and layer your furnishings to streamline the editing process, making it easier to manage and arrange decor seamlessly.
As an Interior Designer, paying attention to these details will elevate your project. Incorporating the right elements can transform an empty floor into a beautifully designed space that reflects your vision.
Design Documentation
Creating thorough design documentation in SketchUp is essential for communicating your vision effectively. Your design documentation should include extensive drawings that visually represent your initial design. Start by integrating concept images, space planning notes, and 3D perspectives to provide clarity for all parties involved.
Make sure you produce detailed 2D plans to scale, as these are critical for builders and contractors to follow accurately. Include lighting and electrical plans in your documentation to coordinate installations seamlessly with electricians and guarantee proper functionality of the space.
Once your concept is approved, create detailed cabinetry documentation. This should include precise dimensions and specifics, facilitating clear communication among trades involved in the project.
Don't forget to incorporate fixtures and fittings schedules along with furniture and styling packages in your design documentation. These elements enhance project organization and ensure that all design features are accounted for during execution.
Engaging With Clients

Engaging clients effectively is essential for a successful interior design project. You can achieve this by using SketchUp to create stunning 2D and 3D models that visually communicate your design ideas. This enhances your clients' understanding of spatial arrangements and flow, making discussions more productive.
Here are a few strategies to maximize your client engagement:
- Incorporate mood boards and material samples within your SketchUp presentations to spark discussions about design choices.
- Utilize the toggle layers feature to display different design options within the same model, giving clients visual alternatives during meetings.
- Present interactive 3D models that allow clients to visualize changes in real time, encouraging their feedback and collaboration.
Additionally, make use of SketchUp's documentation capabilities to generate detailed presentation documents. Include concept images and technical drawings to clarify your ideas further.
Conclusion
In interior design, as the saying goes, "A picture is worth a thousand words." By mastering SketchUp, you're not just creating floor plans; you're crafting a visual story that brings your ideas to life. From measuring techniques to utilizing the 3D Warehouse, each step enhances your design process. Engaging with clients becomes a breeze when you can showcase your vision clearly. So immerse yourself, explore, and watch your designs transform into stunning realities that speak for themselves.