
To finish your digital fabrication projects like a pro, start by choosing the right materials and thoroughly cleaning your surfaces. Sand with fine-grit paper—coarse for rough spots, then fine for smoothness. Apply a suitable sealant to improve surface quality and paint with compatible colors for a sleek look. Proper sanding, sealing, and painting ensure professional results, durability, and a polished appearance. Keep exploring these techniques to master every step of your project’s finish.
Key Takeaways
- Select appropriate materials and sealants to ensure compatibility and a smooth, professional finish.
- Thoroughly clean and assess surfaces before sanding to improve adhesion and surface quality.
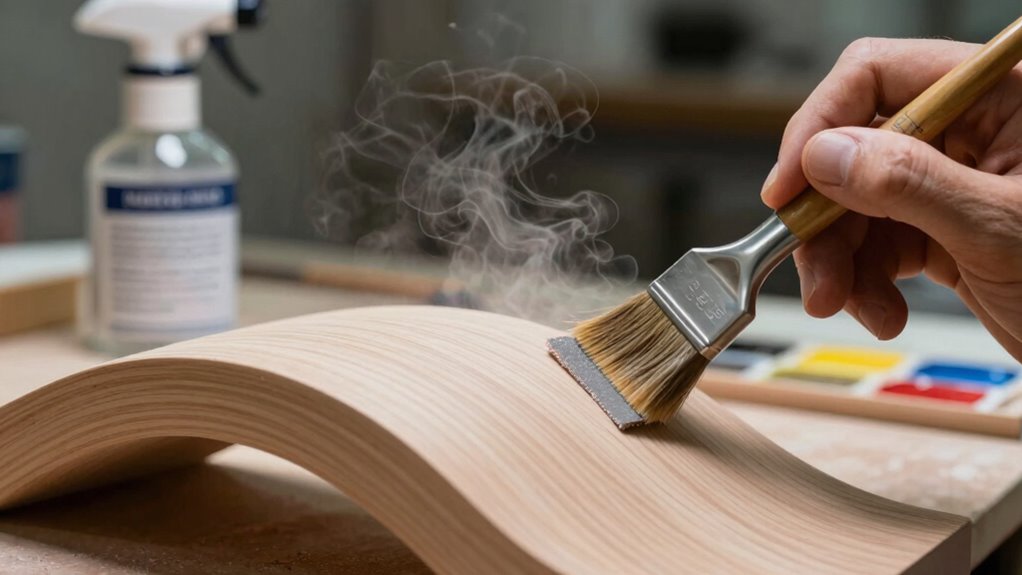
- Use progressive sanding from coarse to fine grit, focusing on layer lines and imperfections for a smooth surface.
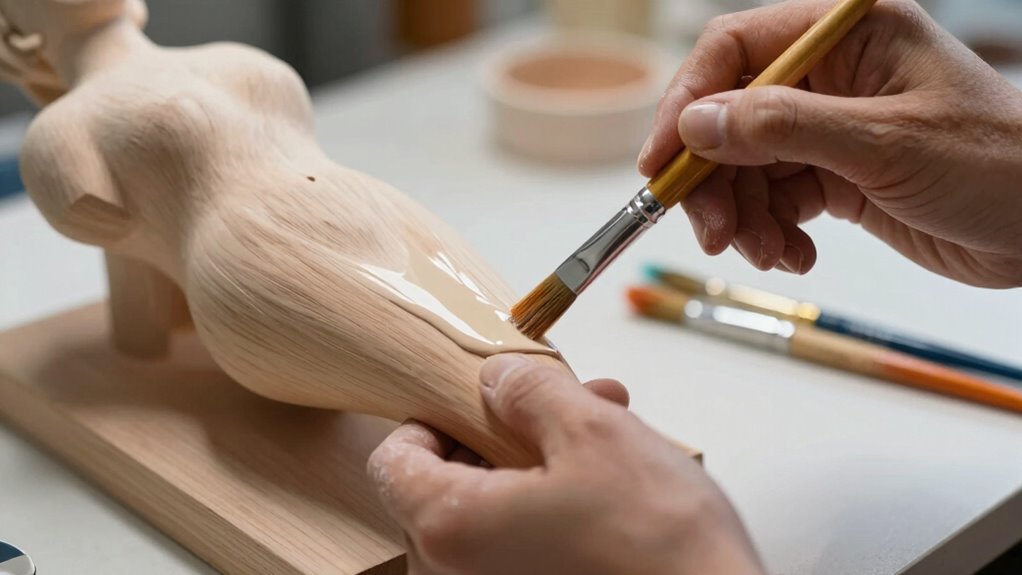
- Apply suitable sealants to enhance surface smoothness and paint adhesion, preventing cracking or peeling.
- Choose compatible paints and finish with proper techniques for a durable, polished final appearance.
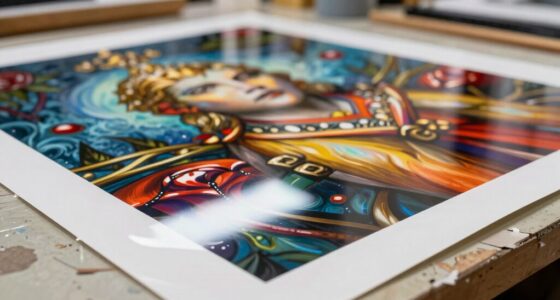
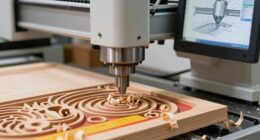
Digital fabrication finishing has become an essential step in transforming raw 3D-printed or CNC-machined objects into polished, functional pieces. Your first focus should be on material selection, which directly influences the finishing process. Different materials—whether plastics, metals, or composites—react uniquely to surface preparation, sanding, sealing, and painting. For example, plastics like ABS or PLA require gentle sanding with fine-grit abrasives, while metals such as aluminum or steel may need coarser grit initially. Selecting the right material guarantees you can achieve a smooth, professional finish without damaging the surface. It also determines the types of sealants and paints compatible with your object, preventing issues like cracking or poor adhesion later on.
Surface preparation is the foundation of a successful finish. Before you start sanding, clean the object thoroughly to remove dust, oils, or residual manufacturing debris. This step is essential because any contaminants can mar the surface, making subsequent finishing steps less effective. Once cleaned, assess the surface for imperfections like layer lines, rough spots, or burrs. Use appropriate tools—such as fine sandpaper, files, or abrasive pads—to smooth out these irregularities. For 3D-printed parts, especially, you might need to apply filler or putty to fill gaps or layer lines, then sand again for a uniform surface. Proper surface prep not only improves the appearance but also enhances adhesion for sealing and painting. Additionally, understanding the material properties can help tailor your finishing techniques for optimal results.
Frequently Asked Questions
What Safety Equipment Is Recommended During Finishing Processes?
During finishing processes, you should wear protective gear like gloves, masks, and goggles to shield yourself from dust, fumes, and chemicals. Make sure you’re working in a well-ventilated area with proper ventilation systems to avoid inhaling harmful particles and vapors. These precautions help keep you safe from respiratory issues and skin irritation, ensuring a safer and more effective finishing process. Prioritize your safety at all times.
How Do Temperature and Humidity Affect Sealing and Painting?
Ignoring temperature and humidity is like inviting chaos into your project. Excess moisture can cause sealing and painting to bubble, crack, or peel, ruining your work. Too cold or too hot, and paint won’t dry properly. You need moisture control and temperature regulation to guarantee smooth application and a flawless finish. Properly managing these factors guarantees your sealing and painting efforts turn out professional and durable every time.
Can Digital Fabrication Finishes Be Applied Outdoors?
Yes, you can apply digital fabrication finishes outdoors, but you need to guarantee good outdoor durability and weather resistance. Choose finishes specifically designed for outdoor use, and apply them in ideal conditions—preferably dry, moderate temperatures, and low humidity. Proper sealing and painting will protect your project from the elements, extending its lifespan and maintaining its appearance despite exposure to sun, rain, and varying weather conditions.
What Are Eco-Friendly Alternatives to Traditional Finishes?
If you’re looking for eco-friendly finishes, consider biodegradable coatings and natural sealants. These alternatives reduce environmental impact and are safer for outdoor use. You can apply plant-based oils, beeswax, or clay-based paints to protect your projects while keeping the planet in mind. Unlike traditional finishes, these options break down naturally and don’t release harmful chemicals, making them perfect for sustainable, outdoor digital fabrication projects.
How Long Should Each Finishing Step Dry Before Proceeding?
Think of drying time like letting a cake cool—patience pays off. For sealing, wait at least 24 hours for proper curing duration before applying paint, which typically needs 2-4 hours to dry, but full curing can take up to a week. Sanding should be done once the finish is fully dry, usually after 24 hours. Rushing these steps risks ruining your work, so give each enough time to dry and cure properly.
Conclusion
Now that you know how to sand, seal, and paint your digital fabrication projects like a pro, you’re ready to take on any challenge. Remember, the devil is in the details, so don’t rush the finishing process. With patience and practice, you’ll turn your creations into polished masterpieces. Keep pushing your skills — every project is a stepping stone. The more you refine your craft, the brighter your future will shine.