
Understanding layering logic is key to achieving better surface transfers and printed objects. Start by ensuring your surface is clean for ideal adhesion. Choose the right adhesive based on your substrate and intended use. Pay attention to design elements like colors and patterns; they need to complement each other. Your application method matters too, whether manual or machine. Each step, from preparation to application, impacts your final result. You’ll find more tips to elevate your projects.
Key Takeaways
- Effective surface preparation, including thorough cleaning and drying, enhances adhesion and overall transfer quality.
- Selecting the right adhesive based on the substrate ensures durability and optimal visual appeal in printed objects.
- High print resolution and proper file setup are crucial for achieving sharp images and cohesive designs in layered applications.
- Layering logic dictates the sequence of application, maximizing both adhesion and aesthetic outcomes for surface transfers.
- Understanding the interactions between layers and techniques can significantly improve the quality and longevity of printed objects.
When you think about surface transfers, layering logic plays a vital role in optimizing the process. Understanding how different elements interact can greatly enhance the quality of your printed objects. You might not realize it, but the right combination of adhesive techniques, transfer materials, and surface preparation can make or break your project. By focusing on these fundamentals, you can achieve impressive results that stand out.
First, let’s talk about surface preparation. Before you even apply any transfer materials, you need to confirm the surface is clean and ready. Dust, grease, or any contaminants can hinder adhesion, leading to peeling or fading. You’ll want to wipe down the surface with an appropriate cleaner and let it dry completely. Proper surface preparation not only enhances adhesion but also contributes to the longevity of the transfer. Additionally, understanding the properties of various kitchen appliances can help you choose the best tools for surface cleaning and preparation.
Proper surface preparation is crucial; a clean, contaminant-free surface ensures optimal adhesion and enhances the longevity of your transfer.
Next, consider the adhesive techniques you’ll be using. Different applications require varying adhesives, and knowing which one to choose is essential. For instance, if you’re working with fabrics, a heat-activated adhesive might be your best bet. For hard surfaces, a pressure-sensitive adhesive could work wonders. Assess the substrate and the intended use of the object to select the most effective adhesive. This choice can affect everything from durability to aesthetics, so don’t overlook it.
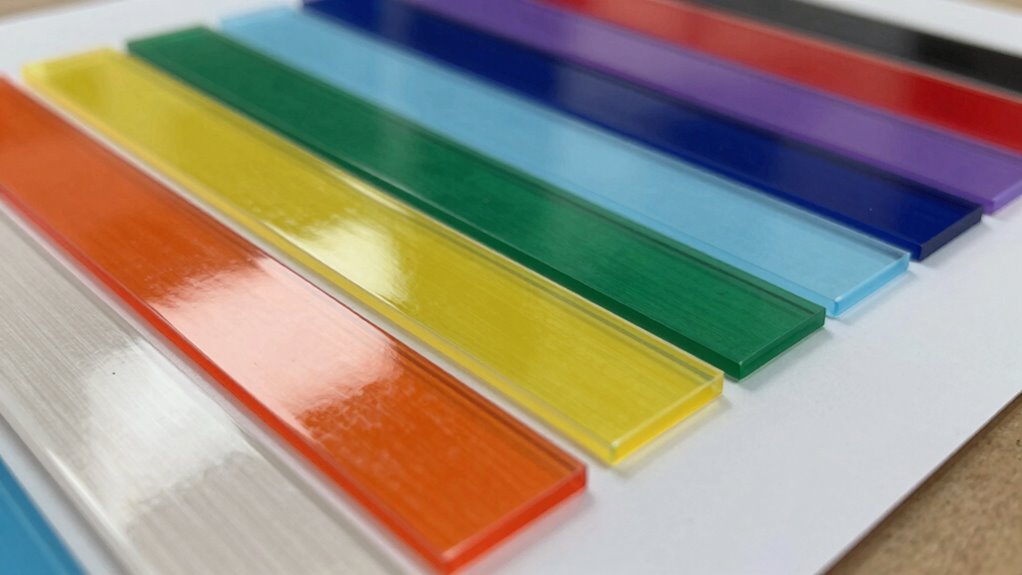
Design considerations also play a key role in the layering logic. When creating your design, think about how colors and patterns will interact once printed. High print resolution is important for achieving sharp images, so make sure your files are set up correctly before printing. If your design has multiple layers, consider how those layers will align and how they’ll appear when applied. Each layer should complement the others to create a cohesive look.
Finally, application methods can vary depending on your project. You might opt for manual application, which gives you more control, or a machine for speed and consistency. Regardless of the method, layering logic dictates that you apply each layer in a sequence that maximizes adhesion and visual appeal. Always follow the manufacturer’s guidelines for curing and setting times, as these can influence the final outcome.

CANOPUS Double Sided Transfer Sheet, 468MP Adhesive Transfer Tape, 12in x 12in (5-Pack)
【Dual-Sided Adhesive Tape】: Ideal for securely adhering, bonding, mounting, holding, and attaching PEI onto print beds.
As an affiliate, we earn on qualifying purchases.
As an affiliate, we earn on qualifying purchases.
Frequently Asked Questions
What Materials Are Best for Surface Transfers?
For surface transfers, you should consider materials like vinyl, paper, and fabrics, as they offer great ink compatibility. Each material has unique properties that influence the effectiveness of transfer techniques. For instance, vinyl is durable and flexible, while paper can provide crisp designs on smooth surfaces. Always match your material properties to your surface types for the best results, ensuring the transfer adheres well and looks professional.
How Do I Prepare a Surface for Printing?
When it comes to preparing a surface for printing, you’ve got to get your ducks in a row. First, choose your substrate carefully; it’s all about compatibility with the ink you’re using. Then, employ effective surface cleaning techniques—like wiping down with isopropyl alcohol or using a fine abrasive—ensuring it’s free of dust and oils. This’ll help your print adhere better and look sharp, giving you a professional finish every time.
Can I Layer Different Types of Inks?
Yes, you can layer different types of inks, but you need to take into account ink compatibility first. Some inks may not adhere well to others, leading to issues like smudging or peeling. Use layering techniques like applying a base layer and letting it dry before adding another ink type. Test small samples to verify they bond properly and maintain the desired color and finish. This way, you can achieve vibrant, multi-dimensional results without compromising quality.
What Common Mistakes Should I Avoid?
You might think layering inks is straightforward, but common mistakes can ruin your work. First, don’t skimp on print adhesion; it’s essential for a lasting bond between layers. Next, guarantee color consistency throughout your project, as mismatched hues can be distracting. Also, avoid rushing the drying time—patience pays off! By steering clear of these pitfalls, you’ll achieve a more polished and vibrant final product that stands out.
How Do I Ensure Durability in Printed Objects?
To guarantee durability in printed objects, focus on the adhesive strength and surface finish. Use high-quality adhesives that bond well with your materials, and consider applying a primer to enhance adhesion. For a smooth surface finish, sand and clean the printed object before applying any coatings. Additionally, choose the right materials that resist wear and tear, and always follow the manufacturer’s guidelines for best results. This way, your printed objects will last longer.
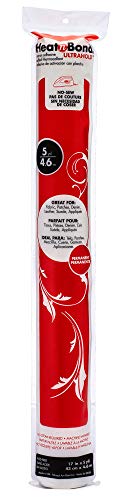
HeatnBond UltraHold Iron-On Adhesive Value Pack, 17 Inches x 5 Yards, White
Ultrahold’s no-sew bond is stronger than traditional fusible webs
As an affiliate, we earn on qualifying purchases.
As an affiliate, we earn on qualifying purchases.
Conclusion
In mastering the layering logic for surface transfers, you’ll find that patience truly is a virtue. Each layer builds upon the last, enhancing the depth and quality of your printed objects. By understanding and applying these techniques, you can transform ordinary surfaces into extraordinary works of art. Remember, as the saying goes, “good things come to those who wait.” So, take your time, experiment, and watch your creativity flourish.

TransOurDream Heat Transfer Paper for Dark T Shirts(20 Sheets, 8.5×11),Printable HTV Heat Transfer Vinyl for Inkjet Printers
💕TRU-TRANSFER PAPER: Pack of 20 sheets Dark Transfer Paper and 2 sheets (A3) reusable Teflon Paper. Our dark…
As an affiliate, we earn on qualifying purchases.
As an affiliate, we earn on qualifying purchases.

GELELF Paper Positioning Tool – Gel Plate Printing Placement Tool Paper Alignment Layering for Gel Printing Printmaking Card Making Supplies, L Square Ruler (Red, Small: 15 x 20 cm(6 x 8 in))
【PRECISE ALIGNMENT】 The GELELF Creative Paper Positioning Tool is perfect for accurately aligning paper for gel plate printing,…
As an affiliate, we earn on qualifying purchases.
As an affiliate, we earn on qualifying purchases.