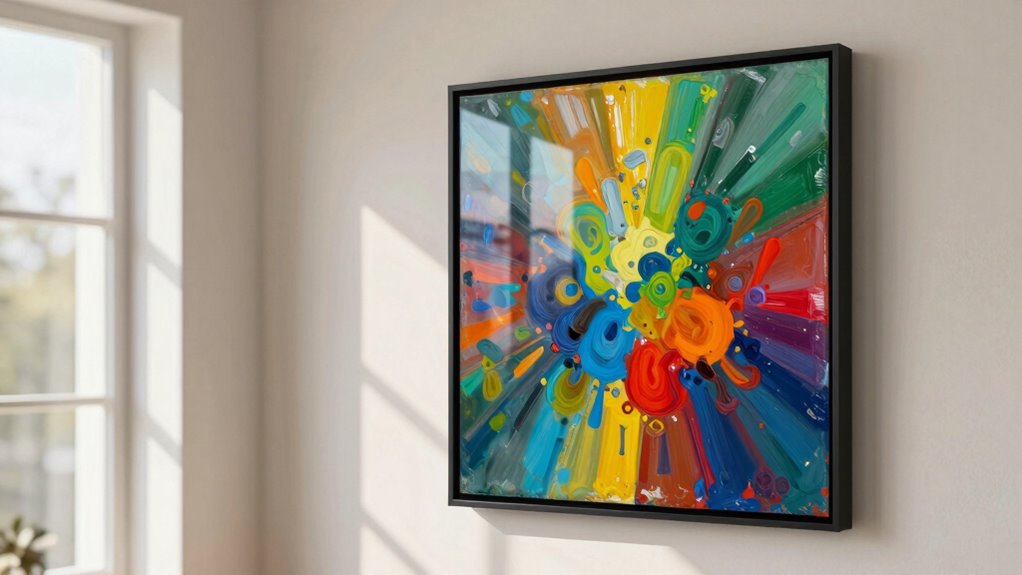

To photograph art so it looks like the work in real life, start by using natural light, ideally near windows. Keep your camera settings at ISO 100, with an aperture of f/8 to f/11. Use a simple background to avoid distractions and maintain a balanced composition. A tripod will help you stay steady, and don’t forget to take multiple shots for options. If you follow these tips, you’ll soon uncover additional strategies to enhance your art photography.
Key Takeaways
- Use natural light during the day to capture soft, diffused illumination that reflects the artwork’s true colors.
- Set your camera to manual mode with a low ISO and appropriate aperture for optimal clarity and depth.
- Choose a simple, neutral background that complements the artwork without distracting from it.
- Experiment with different angles and compositions to showcase the artwork’s details and textures effectively.
- Post-process carefully to adjust exposure and color balance, ensuring the final image matches the artwork’s real-life appearance.

Photographing art can be a rewarding experience, especially when you want to capture its true essence. You might think it’s just about pointing and shooting, but there’s a lot more to it. First, consider your lighting techniques. Natural light is often your best friend, so try to shoot during the day when the light is soft and diffused. Avoid harsh direct sunlight; it can wash out the colors and create unwanted glare. If you’re indoors, position your artwork near a window or use softbox lights to mimic that natural glow. Remember, the goal is to showcase the piece as it appears in real life.
Next, let’s talk about camera settings. If you have a DSLR or mirrorless camera, take advantage of manual mode. Set your ISO low to reduce noise; typically, ISO 100 works well. Adjust your aperture to get a good depth of field—f/8 to f/11 is often ideal for capturing fine details in art. Make sure to use a tripod to keep things steady and avoid blurriness, especially in lower light conditions. Pay attention to your shutter speed; it should match your focal length to prevent any shake. If you’re using a smartphone, explore its manual settings if available, or use apps that can enhance your control over exposure and focus.
Mastering camera settings is key: use manual mode, keep ISO low, and ensure steady shots with a tripod for the best results.
Background choices are also essential. A cluttered background can distract from the artwork itself. Opt for a simple, neutral backdrop that complements the piece without stealing the spotlight. Fabrics, plain walls, or even seamless paper can work wonders. Make sure the background is well-lit but not overly bright to prevent it from competing with the artwork. Proper lighting techniques can make a significant difference in how true-to-life your photographs appear. Additionally, paying attention to composition can help create a more balanced and visually appealing image. When arranging your scene, consider the overall art presentation to ensure the focus remains on the artwork’s details and textures. Using proper framing can also enhance the visual impact of your photographs. To further improve your results, experiment with different camera angles to find the most flattering perspective for each piece. Don’t hesitate to take multiple shots from different perspectives; digital photography allows for easy edits later.

Amazon Basics 50-inch Lightweight Portable Camera Tripod Stand with Quick-Release Plate, Adjustable Height, Aluminum, for Travel Photography, Champagne
- Includes Storage Bag: Zippered storage for portability
- Adjustable Height: 16.1 to 50 inches with lever-lock legs
- Lightweight and Portable: Only 1.23 lbs, easy to carry
As an affiliate, we earn on qualifying purchases.
As an affiliate, we earn on qualifying purchases.
Frequently Asked Questions
What Camera Settings Are Best for Photographing Art?
To get the best results when photographing art, use a low aperture setting, like f/8 or f/11, to guarantee sharp focus across the piece. For shutter speed, aim for at least 1/125 seconds to avoid motion blur. If you’re shooting in low light, consider using a tripod to stabilize your camera. This combination of settings helps capture the details and colors accurately, making your photos reflect the artwork beautifully.
Should I Use Natural or Artificial Lighting?
When you’re photographing art, natural light often gives you the most accurate colors. Isn’t it amazing how the right light direction can transform a piece? If you choose artificial light, make sure it matches the intensity of natural light to avoid harsh shadows. Soft, diffused lighting works best for capturing details. Experiment with both types to see what highlights the artwork beautifully while maintaining its true essence.
How Do I Avoid Glare on Glossy Surfaces?
To avoid glare on glossy surfaces, focus on glare reduction by adjusting your lighting angles. Position your lights at a 45-degree angle to the artwork, which helps minimize direct reflections. You can also use diffusers or softboxes to soften the light and reduce harsh spots. Experiment with different angles until you find the sweet spot where the art shines without distracting glare. Remember, it’s all about finding that perfect balance!
What Background Is Best for Displaying Art Photographs?
For displaying art photographs, choose a background that enhances color contrast and emphasizes texture. A neutral color, like gray or beige, often works best, allowing your artwork to pop without distraction. If your art has bold colors, a complementary background can heighten its impact. Consider adding subtle textures, like a canvas or wood panel, to create depth. This combination draws attention to your photographs while maintaining a polished, professional look.
How Can I Edit Photos to Enhance Colors?
When you’re looking to enhance colors in your photos, you’ll want to strike while the iron’s hot. Start by adjusting the color balance to achieve the desired hues. Next, tweak the contrast adjustment to make those colors pop. Use editing software for fine-tuning; don’t hesitate to experiment with saturation levels, too. With a little practice, your photos will reflect the vibrant essence of the artwork, making them stand out beautifully.

Torjim Softbox Photography Lighting Kit | 16" X 16" & 85W LED Studio Light
- High-Quality Reflective Material: Made of PET fabric and nylon cover
- Even, Soft Lighting: Inner silver baffle for uniform light
- Energy-Saving LED Bulbs: 85W bulbs with 3000-7500K range
As an affiliate, we earn on qualifying purchases.
As an affiliate, we earn on qualifying purchases.
Conclusion
Capturing the essence of your artwork is like inviting viewers into your creative sanctuary. By using proper lighting, angles, and backgrounds, you’re not just taking photos; you’re sharing a piece of your soul. Remember, the aim is to preserve the spirit of your creation, ensuring it resonates as vividly in images as it does in person. So, grab your camera and let your art shine—after all, it deserves to be seen in its true glory!

Canon EOS Rebel T7 DSLR Camera EF-S 18-55mm f/3.5-5.6 is II Lens Kit, 24.1 Megapixel CMOS (APS-C) Sensor, Full HD Videos, Built-in Wi-Fi, Beginner Photographers, Digital Camera, Black
- High-Resolution Sensor: 24.1 Megapixel CMOS (APS-C)
- Wireless Connectivity: Built-in Wi-Fi and NFC
- Fast Autofocus System: 9-Point AF with AI Servo
As an affiliate, we earn on qualifying purchases.
As an affiliate, we earn on qualifying purchases.
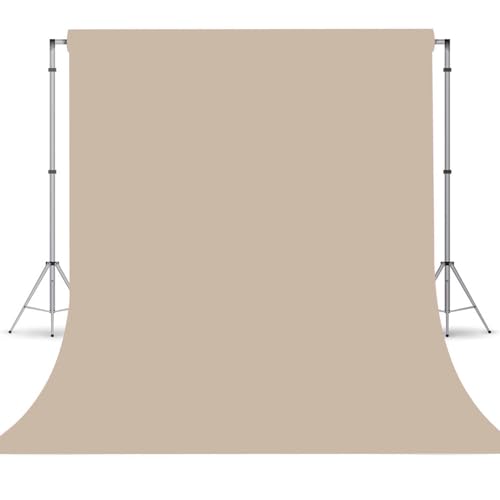
Beige Photography Backdrop for Photoshoot, Fabric 8x10ft
- Material: Polyester fiber, soft and durable
- Size Options: Multiple sizes available
- Application: Studio, portrait, video, events
As an affiliate, we earn on qualifying purchases.
As an affiliate, we earn on qualifying purchases.