To render interior design, start by gathering your ideas and creating a detailed 2D floor plan. Use software like SketchUp or Blender to build a 3D model, ensuring accurate dimensions and spatial planning. Apply realistic materials and textures to enhance visual appeal, and set up proper lighting to depict mood and depth. Finally, convert your model into high-resolution images or animations. Throughout the process, seek client feedback to align with their vision. Mastering these steps can elevate your design presentations, and there's so much more to explore for achieving stunning results. If you are interested in specializing in small house interior design, you may want to prioritize maximizing space and finding innovative storage solutions. This can involve choosing multi-functional furniture and utilizing vertical space effectively. Consider incorporating clever design elements to give the illusion of a larger space while maintaining functionality and style. As you refine your skills in small house interior design, you will find creative ways to transform limited space into a cozy and inviting environment.
Key Takeaways
- Start by developing a detailed 2D floor plan and gather reference images to define your design vision.
- Use software like SketchUp or Blender to create an accurate 3D model, ensuring proper dimensions and spatial planning.
- Apply realistic materials and textures, adjusting properties for authenticity and enhancing visual quality.
- Set up effective lighting, combining natural and artificial sources to create depth and mood in your renderings.
- Incorporate client feedback during the rendering process to align with their vision and minimize revisions.
Top picks for "render interior design"
Open Amazon search results for this keyword.
As an affiliate, we earn on qualifying purchases.
Understanding Interior Rendering
When it comes to interior rendering, many people mightn't realize just how powerful this tool can be for designers. Interior rendering is all about creating photorealistic 3D visualizations of interior spaces, enabling you to present your concepts vividly to clients. This technique enhances communication and understanding, which can lead to higher project approval rates and fewer misunderstandings about design intent.
To achieve effective interior rendering, you need to focus on a few key elements. First, 3D model creation is essential; it forms the backbone of your visualization. Once you have your model, applying realistic materials and textures will elevate the overall quality.
Next, a well-thought-out lighting setup plays an important role in creating realistic images. The way light interacts with the environment can make or break your rendering, so pay close attention to it.
As technology advances, incorporating virtual and augmented reality into interior rendering can offer clients interactive experiences, making your presentations even more compelling. By mastering these aspects, you can greatly enhance your design presentations and improve client satisfaction.
Essential Tools for Rendering
To effectively render interior designs, you'll need to focus on both hardware and software requirements.
A powerful computer paired with the right rendering software can greatly enhance your workflow and output quality.
Let's compare the essential tools you can't overlook to achieve stunning results in your projects.
Hardware Requirements Overview
What hardware do you need for effective interior design rendering?
First and foremost, a powerful graphics card, like the NVIDIA GeForce RTX or AMD Radeon, is necessary. It handles complex rendering tasks and guarantees smooth performance in your rendering software.
Next, at least 16GB of RAM is recommended. This allows your system to multitask efficiently and manage large 3D models without lag.
You'll also want a multi-core processor, such as an Intel i7 or AMD Ryzen 7. These processors greatly enhance rendering speed by allowing parallel processing of tasks, which is critical for achieving realistic visuals.
Don't overlook storage; opting for SSDs over traditional HDDs is essential for quick loading times and saving sizable project files.
Lastly, invest in a calibrated monitor with high color accuracy. This is important for achieving realistic visuals and guaranteeing that colors and textures are accurately represented in your final render.
Software Options Comparison
With the right hardware in place, choosing the right software is the next step in achieving stunning interior design renderings. You'll find popular options like SketchUp, Blender, 3ds Max, and Cinema 4D, each offering unique features for your interior design project.
SketchUp is particularly user-friendly and comes with an extensive library of plugins, making it a go-to for both beginners and pros. If you're looking for advanced modeling tools and powerful rendering capabilities, 3ds Max is a solid choice, though it carries a hefty price tag of $3000 to $5000.
Blender, on the other hand, is a fantastic free and open-source software that covers modeling, rendering, and animation, making it a great option for independent designers on a budget.
To enhance your visual outputs, consider using rendering engines like V-Ray, Lumion, Enscape, or Corona Renderer. These tools can help you achieve photorealistic effects and realistic material representations, elevating your designs to the next level.
Ultimately, the right combination of modeling software and rendering engines will empower you to bring your interior design visions to life.
The Rendering Process
The rendering process kicks off with your initial concept development, where you lay out the vision for your space.
Next, you'll create a detailed 3D model that transforms your ideas into a tangible representation.
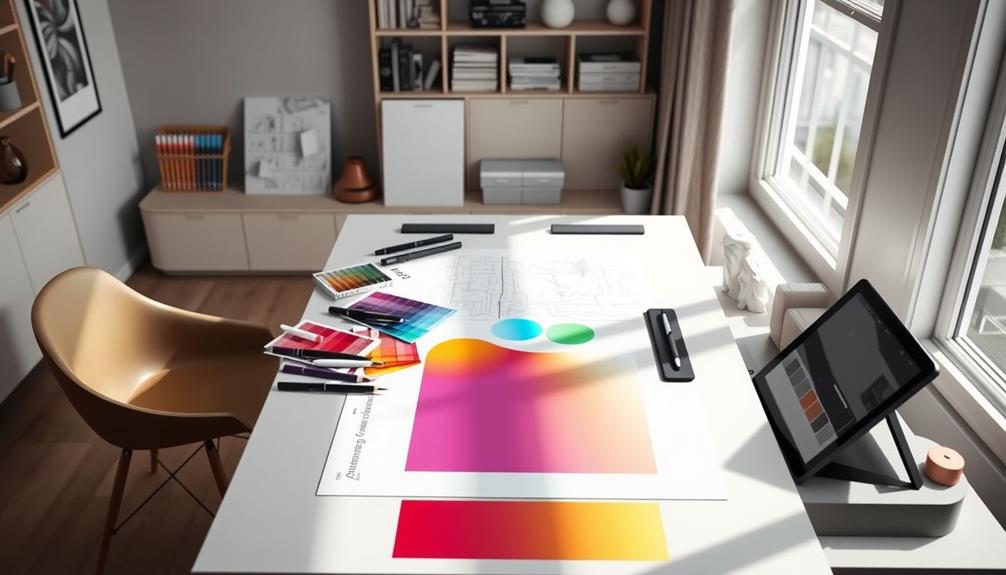
Initial Concept Development
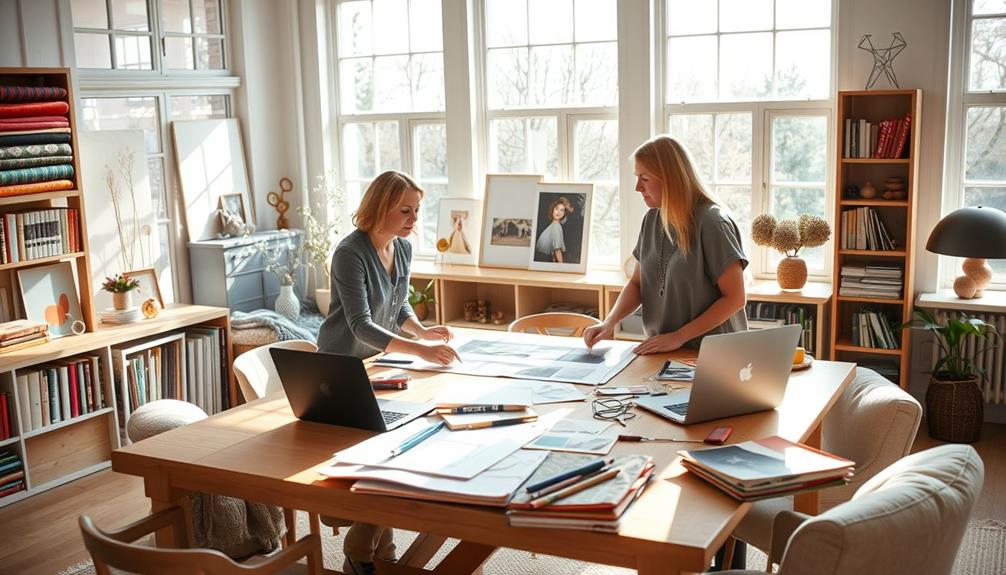
Starting the rendering process involves defining your vision for the interior space. You'll want to gather reference images or sketches that capture your desired aesthetic direction. This initial concept development sets the stage for your design process.
Next, create a detailed 2D floor plan that includes labeled furniture placements and essential dimensions. This will serve as a solid foundation for your 3D rendering.
Utilize software tools like SketchUp or AutoCAD to extrude walls and construct your 3D model, ensuring precision in scale and details for realistic representation.
As you model, incorporate key elements such as lighting, furnishings, and textures. These components are vital for accurately reflecting the intended design.
Once your framework is established, refine the 3D model by applying high-quality materials and textures. Adjust properties like reflectivity and bump mapping to enhance depth and realism in your final render.
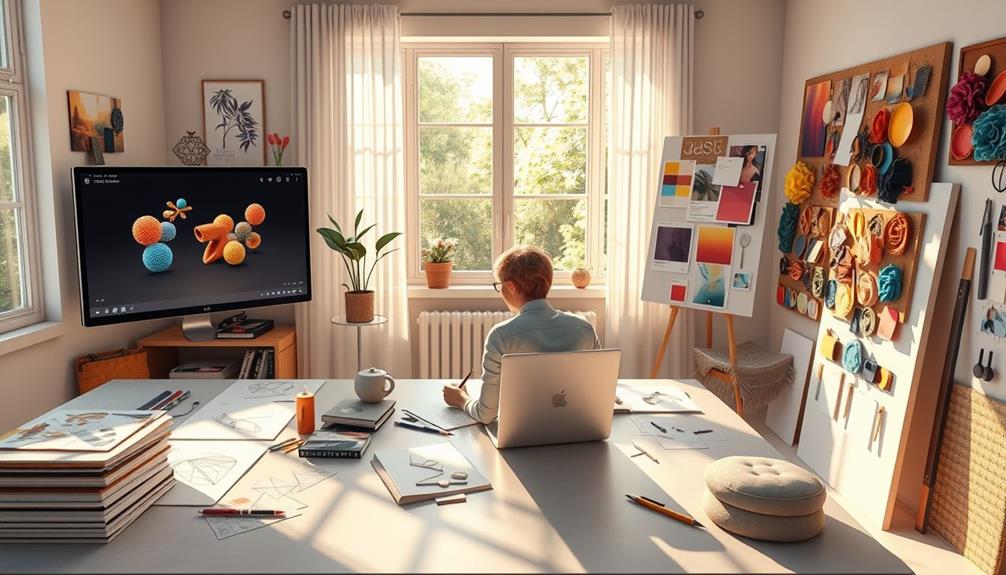
3D Model Creation
Creating a detailed 3D model from your 2D floor plan is crucial for a successful rendering process. This step lays the groundwork for stunning interior renderings. You'll want to guarantee accurate dimensions and spatial planning.
Start by using architectural visualization software like SketchUp or AutoCAD to bring your design to life. Here's how you can enhance your 3D model creation:
- Extrude walls to match your layout.
- Create openings for windows and doors.
- Model essential elements like furniture and lighting fixtures.
- Apply materials and textures to achieve a realistic appearance.
Next, focus on setting up appropriate lighting. Incorporate both natural and artificial sources, adjusting their properties to enhance the ambiance and realism of your space.
Finally, leverage a rendering engine like V-Ray or Lumion to transform your 3D model into a photorealistic image. Customize render settings based on your quality and speed preferences.
Final Rendering Steps
Once you have your 3D model ready, you're set to commence on the final rendering steps that bring your design to life.
First, focus on texturing and materials. Use a material editor to apply realistic textures, adjusting properties like diffuse, reflection, and bump maps to create a realistic appearance.
Next, set up your lighting. Incorporate both natural and artificial sources, tweaking their intensity, color, and shadows. This step is vital for achieving a lifelike ambiance in your space, essential for creating that photorealistic interior look you desire.
Once your textures and lighting are in place, it's time for the final rendering. Adjust your render settings to convert your detailed 3D model into a high-resolution 2D image or animation.
Remember to balance quality and rendering speed based on your project's needs.
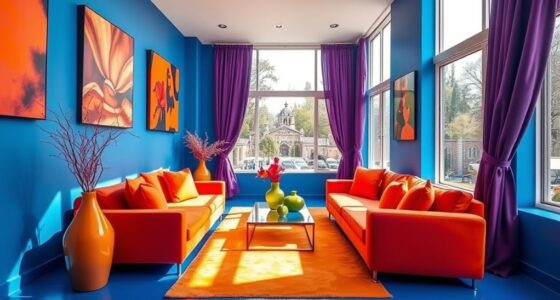
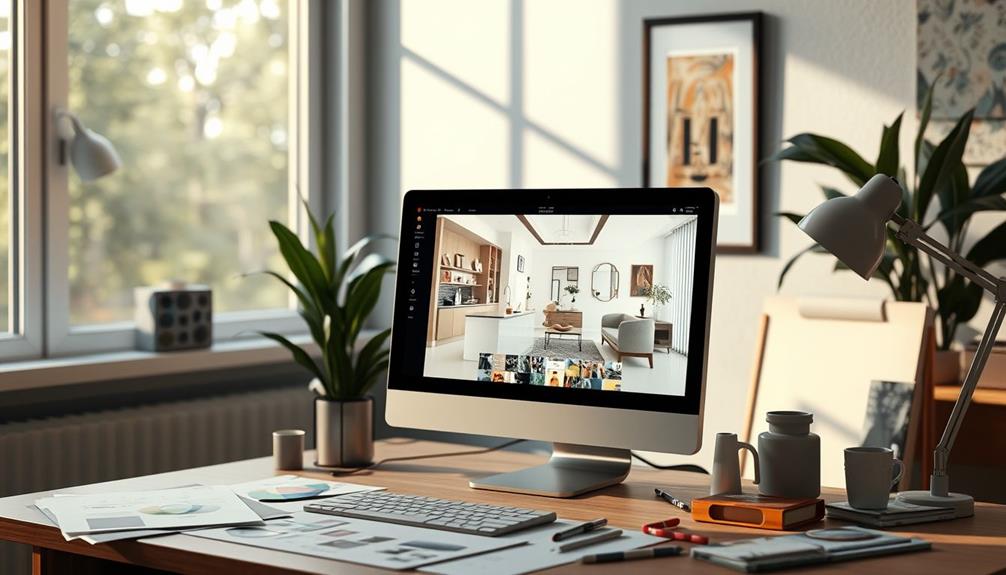
Importance of Visualization
Harnessing the power of visualization in interior design transforms abstract ideas into tangible realities. By utilizing interior renders, you can bridge the imagination gap, allowing clients to see design ideas more clearly than with traditional 2D floor plans.
This realistic representation not only enhances communication but also fosters a collaborative environment.
Here are four reasons why visualization is essential in interior design:
- Increased Proposal Acceptance: High-quality visualizations greatly boost the likelihood of clients agreeing to your project, as they can visualize the end result.
- Enhanced Communication: Effective visualization minimizes misunderstandings, enabling constructive feedback that leads to better designs.
- Emotional Connection: Interior renders evoke emotions, helping clients feel a sense of trust and excitement about their future space.
- Adaptability: With realistic previews, you can make real-time updates based on client input, streamlining project execution.
Gathering Client Feedback
Gathering client feedback during the rendering process is essential for guaranteeing that the final design aligns with their vision. By collecting feedback in real-time, you can make necessary adjustments, greatly reducing the need for costly post-project revisions.
Start by using photorealistic interior renders to clarify your design proposals. These visuals enhance client understanding and lead to more constructive feedback. Additionally, exploring the cosmic connections between astrological signs and personal preferences can provide insights into client choices and aesthetics.
Schedule feedback sessions after presenting initial grayscale renderings. This allows clients to choose angles and design elements before color and texture applications, giving you the opportunity to refine details based on their preferences.
Implement a structured feedback form that encourages clients to provide specific input on design elements, materials, and overall aesthetics. This approach guarantees you capture their thoughts effectively.
Additionally, maintain continuous communication throughout the rendering process. This builds trust with your clients and increases the likelihood of project approval and satisfaction.
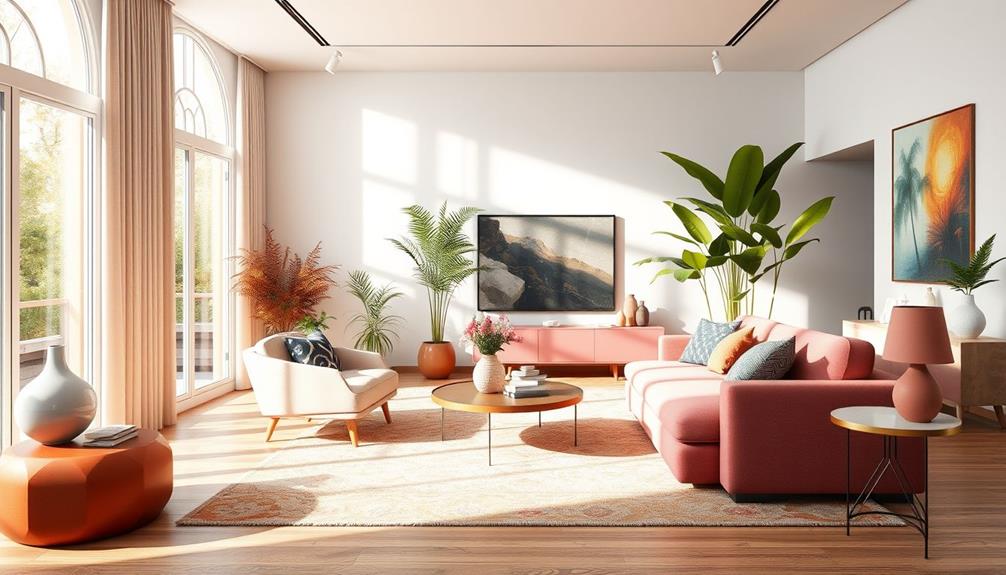
Best Practices for Realism
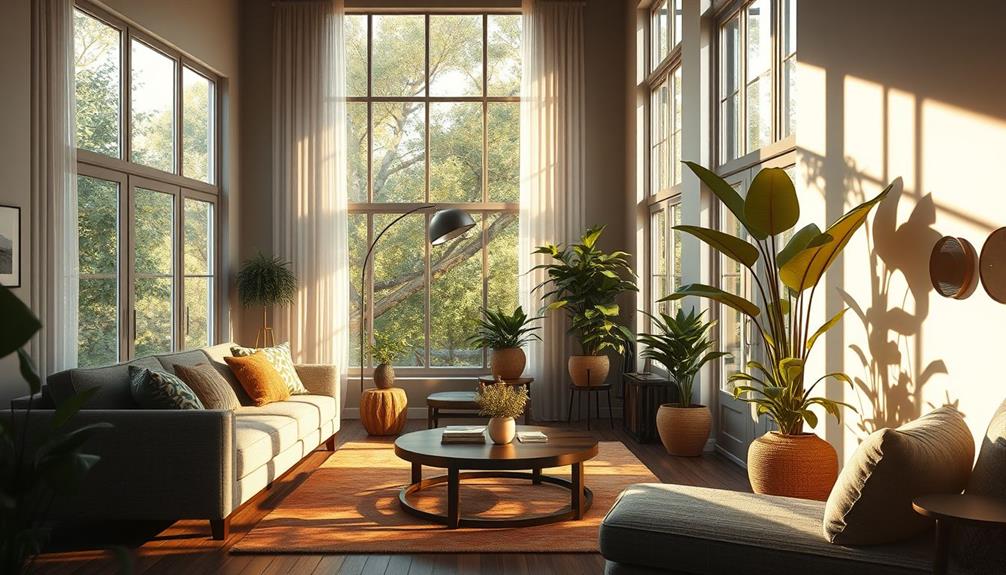
Creating realistic interior renderings is key to effectively communicating your design vision and garnering client approval.
To achieve this, focus on these best practices:
- Lighting Matters: Adjusting natural and artificial lighting is essential. Proper lighting can dramatically affect the mood and perception of the space, making it feel inviting.
- Incorporate Shadows: Adding shadows enhances depth and realism. This technique makes objects appear grounded and provides a sense of scale within the scene.
- Use Quality Textures: High-quality textures and materials, like wood grain and stone finishes, elevate the visual quality. They create a more authentic rendering that captivates the viewer.
- Add Lifelike Objects: Including items like plants, books, and decorative pieces personalizes the space. It helps potential clients envision how the design elements come together in a lived-in environment.
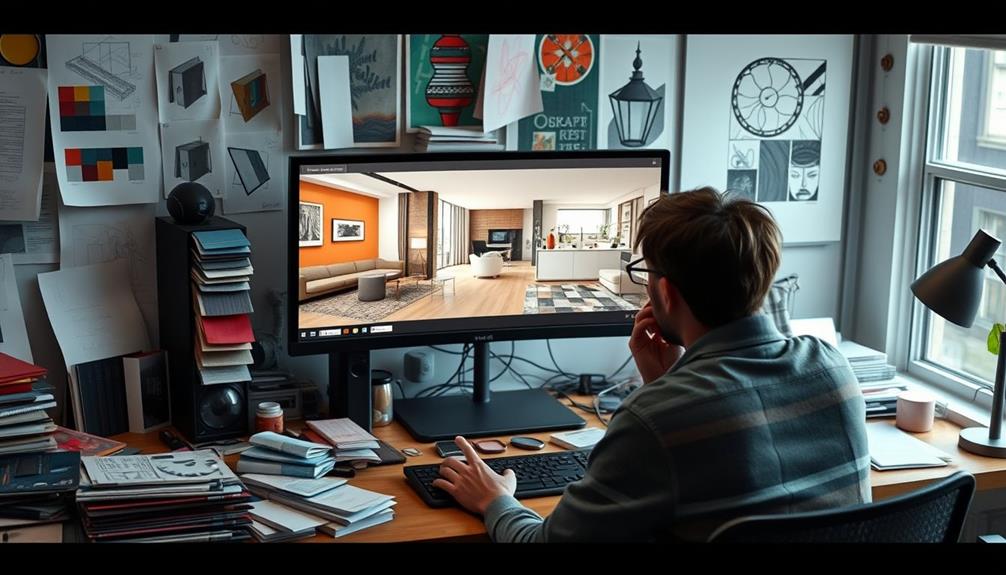
Steps to Generate Renders
Generating stunning interior renders requires a systematic approach to guarantee your design vision comes to life. Begin by gathering all necessary information, including floor plans, measurements, and the client's style preferences. This affirms you're aligned with their vision.
Next, create a 3D rendering using software like SketchUp or AutoCAD. Focus on incorporating essential elements such as furniture, lighting, and decor while maintaining precise scale and detail. Afterward, apply realistic materials and textures through the material editor, adjusting properties like reflection and bump mapping.
Then, set up appropriate lighting, balancing natural and artificial sources. Explore various camera angles to showcase your design effectively. Finally, finalize the rendering by adding finishing touches and conducting post-processing adjustments in software like Photoshop.
Here are some quick tips and tricks to keep in mind during this process:
| Step | Description |
|---|---|
| Gather Information | Collect floor plans and client preferences. |
| Create 3D Model | Use software to build a detailed model. |
| Apply Textures | Enhance visuals with realistic materials. |
| Set Up Lighting | Balance natural and artificial light sources. |
| Finalize and Post-Process | Add finishing touches before presenting. |
Common Challenges in Rendering
Rendering interior designs often presents several common challenges that can complicate the process. You might find yourself grappling with issues that not only slow you down but also affect the quality of your work.
Here are four key challenges you may encounter:
- Rendering Time: Achieving photorealism can be time-consuming, as intricate details in textures, materials, and lighting demand significant processing power.
- Lighting Issues: Balancing natural and artificial light sources is essential. Poor lighting can create unrealistic shadows, leading to a disappointing final product.
- Software Limitations: Each rendering software has its strengths and weaknesses. Choosing one that aligns with your project needs can be tricky, especially if you lack technical expertise.
- Client Expectations: Miscommunication about design intent can lead to multiple revisions, stretching project timelines and causing frustration.
Navigating these challenges requires patience and skill.
Trends in Interior Rendering
Interior rendering is evolving rapidly, influenced by emerging trends that shape how designers present their concepts. One of the most exciting developments is the rise of virtual and augmented reality. These technologies let you and your clients explore designs interactively, offering immersive experiences that truly bring your visions to life before any construction begins.
Another key trend is the sustainability focus. Clients are increasingly looking for eco-friendly design elements in their interiors, reflecting a growing awareness of environmental impacts. By incorporating sustainable materials and practices in your renderings, you align with this demand.
Moreover, advancements in photorealistic techniques have greatly enhanced the realism of your visualizations. This makes it easier for clients to envision the final outcome and make informed decisions.
You'll also notice a shift towards personalized designs. More clients want customized interiors that reflect their individual preferences and lifestyles. By tapping into this trend, you can create spaces that resonate on a personal level.
Conclusion
In interior rendering, you're like a chef crafting a gourmet dish—each ingredient matters. Just as a pinch of spice can elevate flavors, the right tools and techniques can transform your designs into stunning visuals. Remember, the goal is to evoke emotion and connection in your clients. Embrace feedback, refine your skills, and stay attuned to trends. With practice, you'll create renders that don't just showcase spaces but tell a story, inviting everyone to step inside.