Creating an interior design mood board is a fun and effective way to visualize your ideas. Start by choosing a clear design theme that captures your vision. Gather a mix of images, colors, textures, and materials that fit your theme. Use tools like Canva or Pinterest for easy organization. Include essential elements like color palettes, fabric swatches, and light fixtures to enhance the board's appeal. Once you've arranged everything, seek feedback from others to refine your ideas. With these tips, you're on your way to crafting an inspiring mood board that reflects your style. There's so much more to explore! Creating a mood board allows you to experiment with different combinations and see how they work together before making any permanent decisions. It can also serve as a valuable tool for communicating your ideas to clients or collaborators. Whether you’re redesigning a room or planning an entire home renovation, creating a mood board can help you stay focused and inspired throughout the process.
Key Takeaways
- Start by defining a clear design theme to guide your mood board's overall aesthetic and vision for the space.
- Utilize tools like Canva or Pinterest to easily collect, organize, and arrange images, colors, and textures.
- Include essential elements such as paint color palettes, textiles, area rugs, wood finishes, and light fixtures for a comprehensive representation.
- Gather feedback from collaborators in real-time to enhance the mood board and refine design concepts.
- Finalize the mood board by reviewing all elements for alignment with your design vision before sharing or downloading.

GoveeLife Mini Air Purifier for Bedroom, Smart Filter Air Purifier with App Alexa Control for Pet Hair, Odors, Pollen, HEPA Portable Air Cleaner with 3 Speeds, 2 Modes, Timer, Aroma for Home
App & Voice Control: Connect your smart air purifier to App for features such as power on/off, custom/sleep...
As an affiliate, we earn on qualifying purchases.
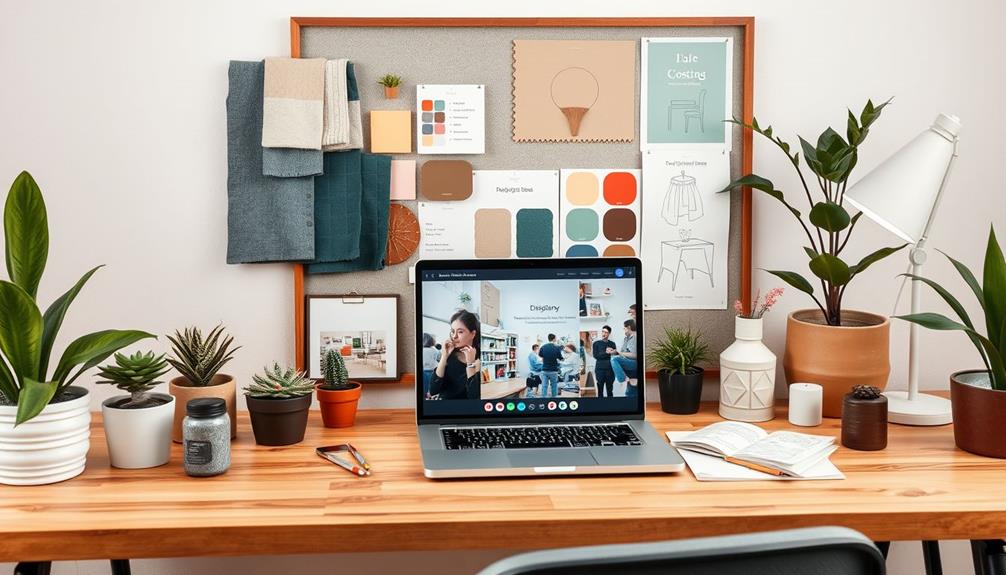
Purpose of a Mood Board
A mood board plays an essential role in the interior design process by visually representing your design concepts. It serves as a powerful tool to clarify ideas, ensuring that everyone involved—clients and collaborators—understands the vision. By providing a clear visual reference, you maintain focus on your project's goals throughout the design process.
Creating a mood board helps you identify and avoid potential design challenges early on. By visualizing elements collectively, you can spot any inconsistencies or mismatched ideas before making significant investments. This proactive approach saves time and resources, allowing you to refine your design more effectively.
Moreover, mood boards facilitate the exploration of personal style and preferences. They encourage you to experiment with different textures, colors, and materials, expanding your creative horizons. As you curate your visual representation, you'll find that it sparks creativity and inspiration, enhancing the overall design process.
Ultimately, a well-crafted mood board is essential for laying the foundation of a cohesive design. It's not just a collection of images; it's a meaningful tool that guides your decisions and brings your vision to life.

LEVOIT Air Purifiers for Home Large Room Up to 1733 Ft² With HEPA Sleep Mode, AHAM VERIFIDE, Auto Mode, Air Quality Monitor, Smart WiFi, 3-in-1 Filter For Pet Allergy, Smoke, Dust, Core 400S-P, White
𝐖𝐇𝐘 𝐂𝐇𝐎𝐎𝐒𝐄 𝐀𝐇𝐀𝐌 𝐕𝐄𝐑𝐈𝐅𝐈𝐃𝐄 𝐀𝐈𝐑 𝐏𝐔𝐑𝐈𝐅𝐈𝐄𝐑𝐒: AHAM (Association of Home Appliance Manufacturers) is an ANSI-accredited organization that sets...
As an affiliate, we earn on qualifying purchases.
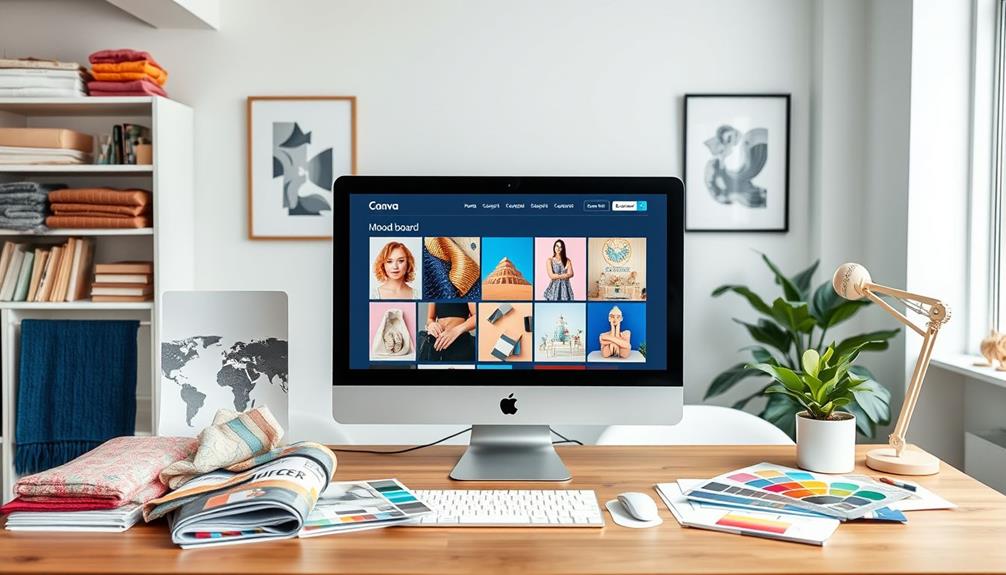
Tools for Creating Mood Boards

Wondering which tools to use for creating your mood board? You have several fantastic options at your disposal. Canva is a top choice, thanks to its user-friendly interface, free access, and drag-and-drop functionality. It's ideal for all skill levels, allowing you to easily create a stunning mood board using customizable templates. If you're looking for design inspiration, Pinterest is another excellent platform where you can pin and organize images, sharing your boards with others effortlessly.
Here's a quick comparison of some tools you can use:
| Tool | Features |
|---|---|
| Canva | Free, drag and drop, customizable templates |
| Organize images, share boards easily | |
| Adobe Illustrator | Advanced design software, requires skills |
| Photoshop | Powerful editing tools, more technical |
For advanced users, Canva Pro offers features like background removal. If you're using the free version, you can utilize remove.bg for similar functionality. Whatever tool you choose, make sure it aligns with your needs for creating an inspiring interior design mood board!

SereneLife HEPA Air Purifier for Home – Smart WiFi & App Control, Ultra-Quiet Air Purifier for Bedrooms & Large Rooms, Removes Dust, Pet Hair & Odors, Ideal for Pets & Allergies (1,800 Sq Ft, White)
High-Efficiency HEPA Air Purifier for Home – Removes dust, pet hair, smoke, and odors, ensuring cleaner, fresher air...
As an affiliate, we earn on qualifying purchases.
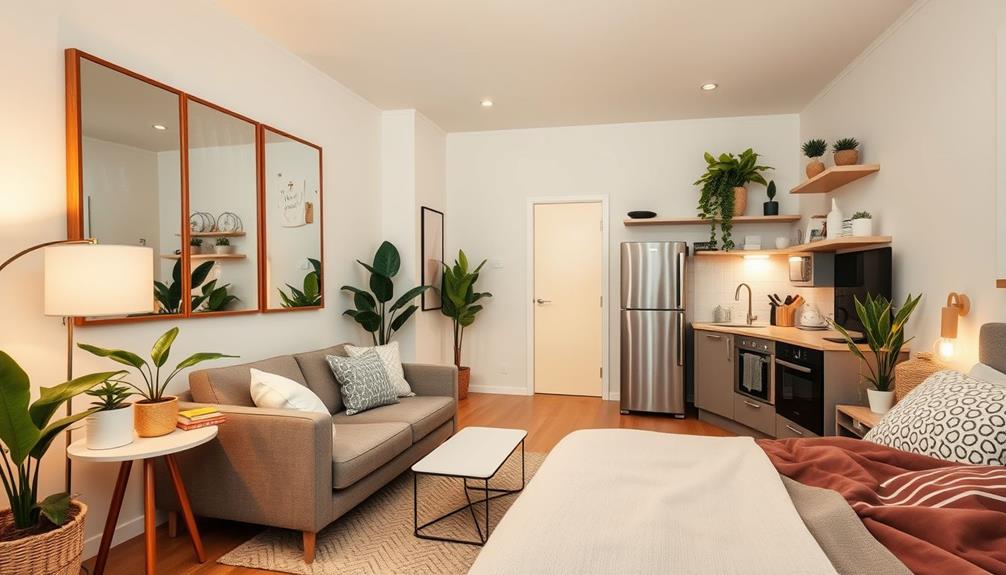
Essential Elements to Include

Creating a mood board requires careful selection of essential elements that capture the essence of your design vision. Start by choosing a paint color palette that establishes your primary color scheme and conveys the desired mood of the space. This will serve as the foundation for your design board.
Consider drawing inspiration from breathtaking destinations that promise adventure and luxury, as they can influence your color choices and overall aesthetic.
Next, include a selection of textiles and fabric swatches to represent various textures and materials. These textiles will add depth and interest, making your mood board more dynamic.
Incorporating area rugs is another key element; they help visually define spaces while adding warmth to your overall aesthetic.
To showcase warmth and style, feature wood finishes that highlight the natural elements you plan to integrate. These finishes can help tie your design together and provide a cohesive look.
Don't forget to add images of light fixtures, as they play a vital role in setting the ambiance of your space.
LEVOIT Air Purifier for Home Large Room Up to 1073Ft² with Air Quality Monitor, AHAM VERIFIDE, Smart WiFi, Washable Pre-Filter, HEPA Sleep Mode for Pets, Allergies, Dust, Pollen, Vital 100S-P, White
𝐖𝐇𝐘 𝐂𝐇𝐎𝐎𝐒𝐄 𝐀𝐇𝐀𝐌 𝐕𝐄𝐑𝐈𝐅𝐈𝐃𝐄 𝐀𝐈𝐑 𝐏𝐔𝐑𝐈𝐅𝐈𝐄𝐑𝐒: AHAM (Association of Home Appliance Manufacturers) is an ANSI-accredited organization that sets...
As an affiliate, we earn on qualifying purchases.
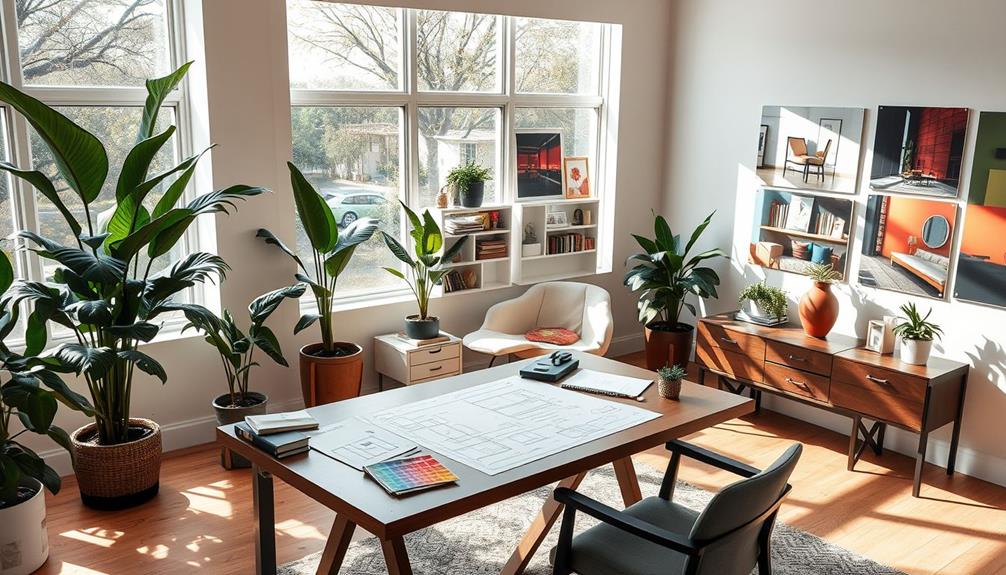
Organizing and Sourcing Links

To create an effective mood board, you need to keep track of item sources and organize visual references.
Start by setting up a Google spreadsheet to log details like prices and links, making future shopping easier.
Additionally, pinning items on Pinterest and saving images in a dedicated folder will help you maintain a clear and accessible resource collection.
Tracking Item Sources
A well-organized system for tracking item sources can save you countless hours during your interior design process.
Start by creating a Google spreadsheet to efficiently track item sources, prices, and links. This guarantees you have easy access to crucial information when you're ready to purchase. You can also utilize a Pinterest board to pin sourced items, providing a visual reference that organizes your inspiration and helps keep track of potential purchases.
For additional visuals, download images from Google Images and save them in a designated folder, categorizing them by type, color schemes, or room. This approach will streamline the sourcing process, making it easier to revisit and select items as your design evolves.
Remember to collect and categorize items over time; it enhances your efficiency and reduces the overwhelm of choice.
Lastly, guarantee that all links to products and resources are organized in one location. This won't only help you avoid losing potential design elements but will also make future shopping much simpler.
With these tips and tricks, you'll be well on your way to creating a mood board I created that truly reflects your vision.
Organizing Visual References
After you've tracked your item sources, it's time to focus on organizing your visual references effectively. Start by creating a Google spreadsheet to log the items you've collected for your mood board. This allows for quick reference and comparison of prices. Utilize Pinterest to pin your sourced items and inspirations, making it easy to access and organize your visual references.
You can also download images from Google Images and save them in a designated folder on your computer. Categorize these images by themes or elements to streamline your design process. Here's a simple way to organize your materials:
| Item Type | Source | Price |
|---|---|---|
| Furniture | $500 | |
| Color Palette | Google Images | – |
| Textures | Personal Folder | – |
Regularly collect and categorize items over time to guarantee you have a diverse range of visual references at your disposal. Maintaining accessible links to all sourced materials will make future shopping easier and help you revisit and modify your mood board as needed. With these organizing strategies, you'll be well on your way to a stunning design!
Step-by-Step Canva Process
Now that you've gathered your inspiration, it's time to set up your mood board in Canva.
Start by choosing a pre-made template that suits your style and makes the design process easier.
Once you've uploaded your images, you'll be ready to finalize your mood board to reflect your unique vision.
Setting Up Canva
To kick off your mood board creation in Canva, start by determining your desired interior design style. This will guide your vision and help you gather inspiration from platforms like Pinterest.
Once you have a clear idea, organize your collected images and links on your computer desktop for easy access when you begin working in Canva.
Next, follow these steps to set up your Canva Mood:
- Copy a Template: Find a mood board template in Canva and modify it to fit your style.
- Upload Your Selected Images: Drag and drop your images into Canva, ensuring they reflect your interior design project.
- Adjust Placements: Resize and reposition your images to achieve a cohesive visual composition.
- Add Text: Incorporate text elements to label different sections or themes in your mood board.
- Review Your Design: Make sure everything aligns with your vision before finalizing.
When you're satisfied with your design, you can easily download the completed mood board as a PDF for sharing and presentation.
Enjoy the process and let your creativity shine!
Finalizing Your Mood Board
Finalizing your mood board is an exciting step that brings your design vision to life. Start by determining your desired interior design style, as this will guide the overall aesthetic of your mood board. Consider embracing current trends like the emphasis on neutral color palettes and natural materials, which are integral to Modern Farmhouse Decor Trends (2024).
Gather inspiration by creating dedicated Pinterest boards and organizing relevant images on your computer for easy access.
Next, open Canva, the design app that simplifies creating a mood board. Use a provided mood board template, then upload your collected images. Adjust their placements to create a cohesive layout, ensuring each element aligns with your chosen style. This is your chance to experiment, so don't hesitate to move things around until it feels just right.
Once you're satisfied with the arrangement, take a moment to review all elements. Make sure everything reflects the inspiration you've gathered.
Finally, download your completed mood board as a PDF. This format makes it easy to share with others or refer back to in the future. By finalizing your mood board, you're not just organizing visuals; you're solidifying your design direction and making it tangible.
Enjoy the process, and watch your vision come to life.
Sharing and Collaboration

Sharing and collaboration are essential components of the interior design process, especially when using mood boards. By creating a digital mood board, you can easily facilitate interaction with clients or team members, making it easier to gather feedback and refine your design.
Here are some key benefits of sharing and collaborating on mood boards:
- Real-time feedback: Collaborators can leave comments and suggestions directly on the board for immediate discussion.
- Enhanced sharing capabilities: Platforms like Canva or Milanote provide direct links for access and editing, allowing multiple users to contribute seamlessly.
- Track progress: You can save various versions of your mood boards, giving you a clear history of design evolution and decision-making.
- Foster creativity: Engaging with others not only boosts creativity but also encourages diverse inputs, leading to improved design outcomes.
- Efficient presentations: Once your mood board is ready, you can easily share designs via email or download them for presentations.
Embrace the collaborative spirit of mood boards, and watch your designs flourish through shared visions and collective insights.
Tips for Effective Mood Boards

Creating an effective mood board starts with a clear design theme that captures your vision for the space. Define a style that reflects your personal preferences and the atmosphere you want to create.
To create a mood board, collect a diverse range of images, textures, colors, and materials that align with your chosen design theme. Include elements you might want, like furniture, textiles, and lighting fixtures, to guarantee a well-rounded representation.
Next, utilize digital tools like Canva or Pinterest to easily arrange and adjust these elements. This flexibility allows you to make quick modifications and refine your design.
Prioritize your layout by focusing on visual hierarchy; resize and position images so that the most important elements stand out.
Lastly, don't hesitate to seek feedback from collaborators or peers. Constructive criticism can enhance your mood board and highlight areas for improvement.
Engaging others in the process not only enriches your design but can also spark new ideas, guaranteeing your final result is cohesive and visually appealing.
Conclusion
As you wrap up your mood board, imagine how every carefully chosen color, texture, and image comes together to tell a story. You're just a few clicks away from revealing a vision that could transform your space. Will it spark inspiration and ignite creativity? The anticipation builds as you prepare to share it with others. Trust the process—your mood board isn't just a collection of ideas; it's the first step toward bringing your dream design to life.