To create interior design renderings, start by gathering essential information like floor plans and client preferences. Next, use 3D modeling software, such as SketchUp or Revit, to build a detailed model, incorporating walls, furniture, and lighting. Apply suitable materials and textures, ensuring they fit your design vision. Set up lighting to highlight the space's mood and use various camera angles for effective presentation. Finally, add finishing touches for realism and involve your client throughout the process for feedback. Curious about more tips and techniques? There's a lot more to explore on enhancing your design renderings! Looking for more ways to elevate your interior design renderings? Research and experiment with advanced lighting techniques to enhance the ambiance of the space, such as utilizing natural lighting or incorporating artificial light sources. Additionally, consider incorporating realistic details and accessories to bring your renderings to life, from artwork on the walls to decorative vases on tables. You can also explore different camera settings and perspectives to create dynamic and visually appealing interior design renderings. The possibilities are endless when it comes to mastering interior design rendering techniques!
Key Takeaways
- Gather essential information such as floor plans, measurements, and client preferences to inform your design process.
- Create a detailed 3D model using software like SketchUp or Revit, incorporating walls, furniture, and lighting.
- Apply appropriate materials and textures, ensuring they align with the client's vision and room functionality.
- Set up effective lighting and camera angles to enhance the realism and mood of the renderings.
- Present the final design through multiple perspectives and gather client feedback for alignment with their expectations.

EVEO Screen Cleaner Spray - Large Screen Cleaner Bottle - TV Screen Cleaner, Computer Screen Cleaner, for Laptop, Phone, Ipad - Computer Cleaning kit Electronic Cleaner (1 Pack)
Screen Cleaner is Your Screen’s New Bestfriend! - EVEO is proud to present a screen cleaner that’s perfectly...
As an affiliate, we earn on qualifying purchases.
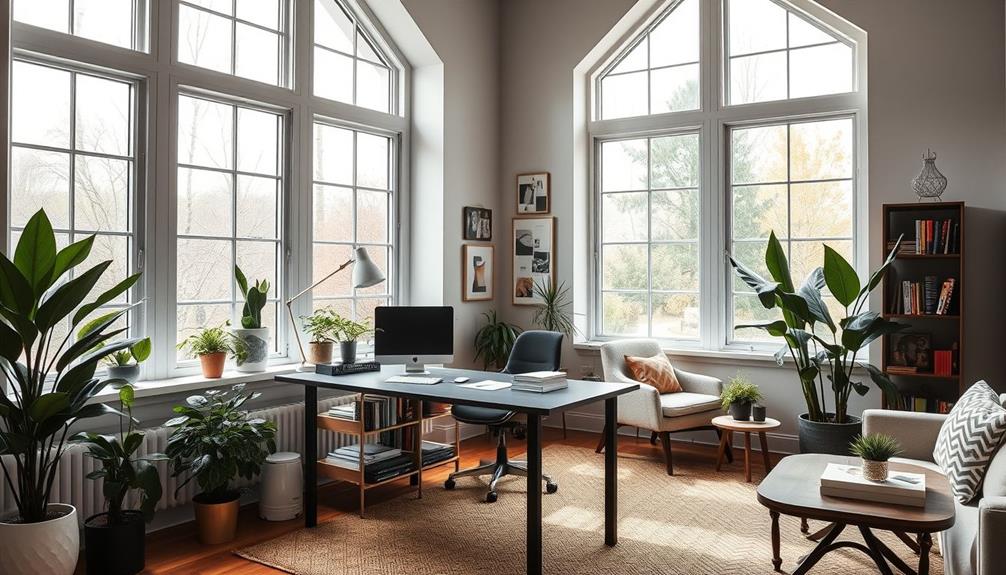
Gather Information and Inspiration
Gathering information and inspiration is essential for creating effective interior design renderings. Start by collecting essential data like floor plans, measurements, and building materials. This guarantees accuracy in your designs and aligns with the client's vision.
Engage with your client to understand their personal style and the intended function of each room. This dialogue helps you tailor your approach to match their expectations.
Next, research current design trends to gather fresh design ideas. This knowledge allows you to create a sophisticated and elegant aesthetic, particularly for high-end projects.
Utilize mood boards to compile concepts, color schemes, and materials visually. These boards aid in conceptualizing the overall look and feel of the space.
Additionally, analyze existing spaces to determine what works and what doesn't. Gather visual references to inform your decisions on layout, furnishings, and decor elements.

iO CLEAN Screen Cleaner Spray (16oz - 473ml) – Best Large Cleaning Kit
Screen cleaner spray and cloth. Screen cleaner spray and cloth are designed for high-end devices and work flawlessly...
As an affiliate, we earn on qualifying purchases.
Create a 3D Model

With a solid foundation of information and inspiration in hand, it's time to create a 3D model that brings your design vision to life. Using modeling software like SketchUp, AutoCAD, or Revit, you'll transform 2D floor plans into accurate 3D representations for your interior design project.
Start by incorporating essential design elements such as walls, doors, windows, furniture, and lighting fixtures. This thorough approach guarantees your model showcases your design effectively.
Pay close attention to layering and organization within your chosen software. This clarity will streamline the editing process and enhance your focus on attention to detail. Regularly refer to your inspiration images to keep your model aligned with your desired aesthetic and functional requirements.
Allocate time for refining your 3D model, concentrating on proportions, textures, and spatial relationships. This effort will lead to realistic images that elevate your rendering.
- Feel the excitement of seeing your ideas take shape.
- Experience the satisfaction of a well-organized model.
- Witness your vision become a stunning reality.

HP 14 Student-Laptop Back to School, Quad-Core Processor (Beat i3) 4GB RAM 128GB SSD, Laptops for Student with 1-Year Office 365 Copilot AI Win11, Willow Green
【Efficient 4-Core Processor】Power through your day with an Intel Celeron N150 processor (Beat i3 Turbo Boost), this HP...
As an affiliate, we earn on qualifying purchases.
Apply Materials and Textures

When you apply materials and textures in your renderings, start by selecting options that match your client's vision and the room's purpose.
Use your rendering software's material editor to fine-tune properties like reflection and bump for a lifelike appearance.
Material Selection Criteria
Selecting the right materials for your interior design renderings is essential, as it directly influences both the aesthetic and functional aspects of the space.
Consider the material selection criteria that align with client expectations, ensuring durability and functionality. High-end finishes like marble and mahogany can elevate luxury designs, while various textures enhance the visual appeal and create depth in your renderings.
When choosing materials, think about how they interact with lighting fixtures, both natural and artificial. This can dramatically impact the mood of the space.
Utilize mood boards to help clients visualize different material options and understand their potential effects on the overall design concept.
- Create a welcoming atmosphere with warm textures.
- Inspire confidence with durable, high-quality materials.
- Embrace eco-friendly options to promote sustainability.
Texture Application Techniques
Applying textures effectively in your interior design renderings can greatly enhance the visual appeal of your space. Start by utilizing the material editor to adjust properties like diffuse color, reflection, and bump mapping. This guarantees a realistic appearance that brings your designs to life.
Incorporate high-resolution texture maps for materials such as wood, fabric, and stone to add depth and detail to surfaces.
Next, pay attention to the scale of the textures. Make certain they align with the dimensions of the objects in your scene to avoid distortion. This simple step is essential for maintaining realism.
Experiment with different blending modes and opacity levels to create a dynamic and visually appealing finish. These texture application techniques can greatly elevate your renderings.
Lastly, regularly validate the impact of your selected textures on the overall design by comparing your renderings with reference images. This practice guarantees that your textures not only enhance individual elements but also contribute cohesively to the intended aesthetic of the space.

HP Stream 14" Back-to-School Laptop, Intel Processor N150 (up to 3.60 GHz), 1-Year Microsoft 365, Copilot AI, 4GB RAM, 128GB UFS Storage, Fast Charge, Wi-Fi 6, Win 11 S, Silver, W/Wireless Mouse
【Copilot AI and Work】Do more with AI as your personal assistant. Kickstart new projects with relevant answers, simplified...
As an affiliate, we earn on qualifying purchases.
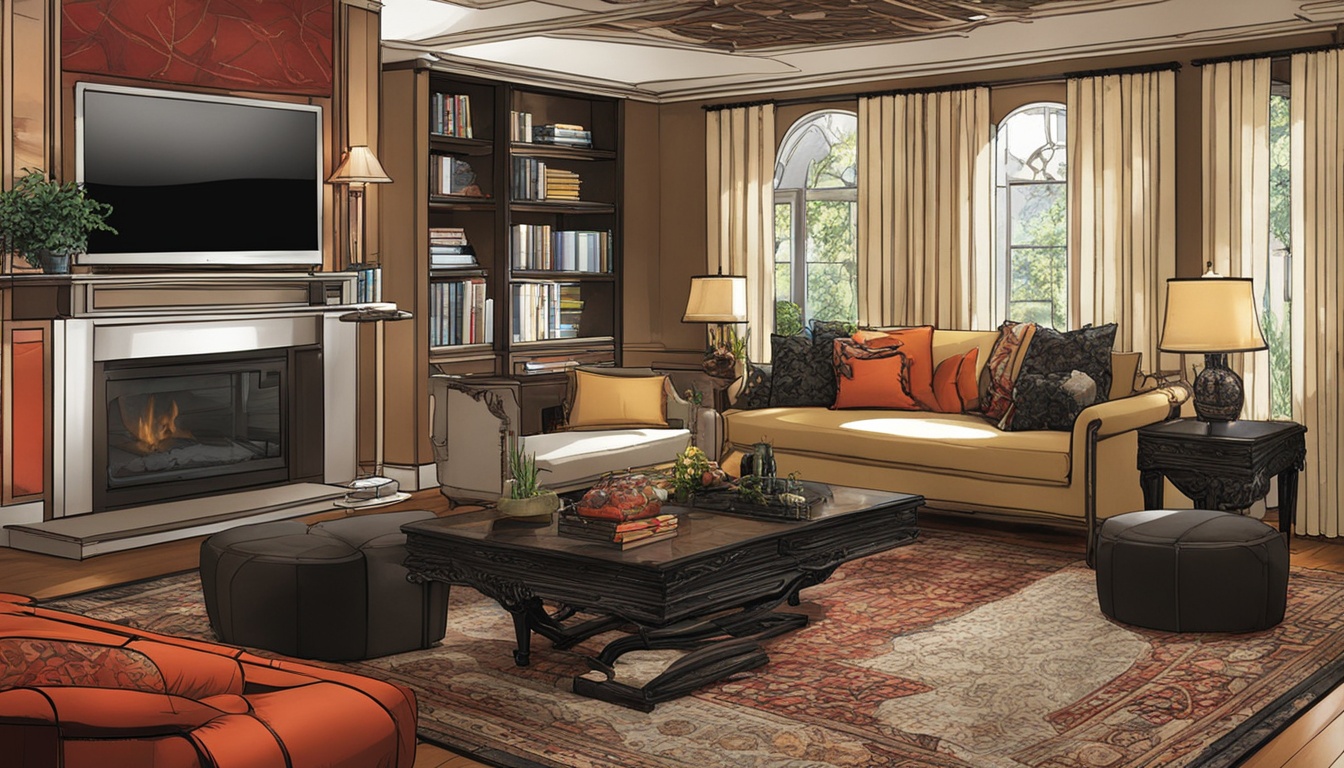
Set Up Lighting and Camera

To create stunning interior design renderings, you need to thoughtfully set up both lighting and camera angles that highlight the space's best features.
Start by positioning natural light sources, like windows, to maximize daylight and create a warm, inviting atmosphere. Consider the time of day to guarantee accurate shadow casting. For a more realistic effect, use a three-point lighting setup—key, fill, and back lights—to illuminate focal points and enhance depth.
Experiment with varying color temperatures of artificial lighting—warm, neutral, and cool—to evoke different moods and complement the materials and textures in your design.
- Capture the cozy ambiance of a sunlit room.
- Highlight the intricate architectural details that tell a story.
- Showcase the design's scale and elegance through dynamic perspectives.
Don't forget to test multiple camera angles and heights to find the best perspectives that showcase your design effectively.
Adjust the intensity and placement of light sources to create a balanced composition that guides the viewer's eye throughout your photorealistic interior rendering.
With these techniques in place, you'll elevate your design process and create impactful visuals.
Final Touches and Presentation

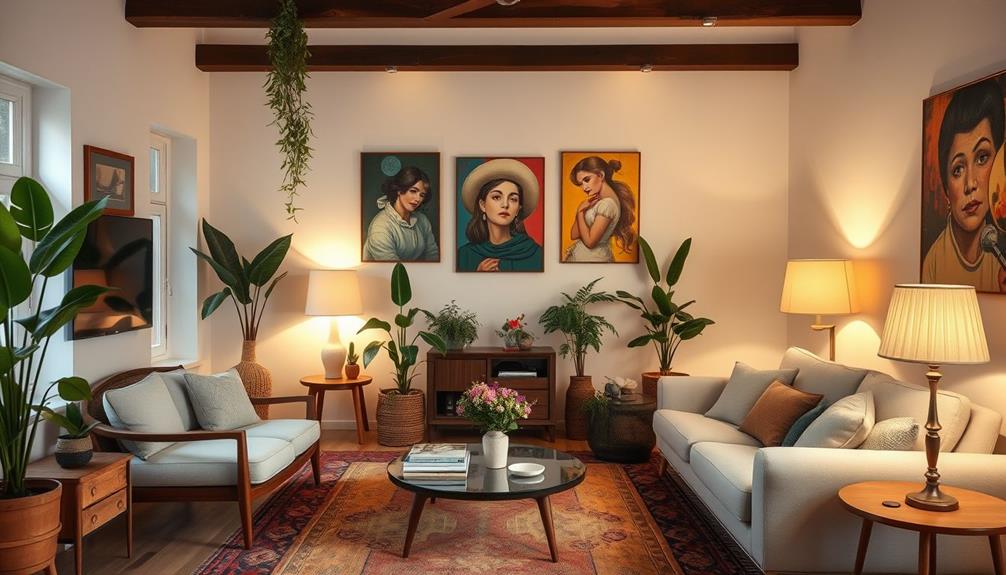
Final touches are essential in bringing your interior design renderings to life. Enhance the realism of your interior space by incorporating finishing elements like vases, books, and artwork to convey a lived-in feel. As you finalize your designs, consult with clients to gather valuable feedback and guarantee that your presentation aligns with their expectations.
Present your renderings from multiple perspectives—close-ups and wide angles—to provide a thorough view of your design intent. This approach not only showcases every detail but also allows clients to visualize the space effectively. Consider offering virtual tours as part of your presentation, enabling clients to experience the layout interactively.
Here's a quick reference to keep in mind:
| Element | Purpose | Benefit |
|---|---|---|
| Finishing Elements | Enhance realism | Creates a lived-in feel |
| Multiple Perspectives | Showcase design intent | Thorough view |
| Virtual Tours | Interactive experience | Better understanding |
Collaborate With the Client

Collaboration with your client is essential for creating interior design renderings that truly reflect their vision. Engage your clients early in the design process by discussing their preferences and expectations, particularly if they're interested in elements like a modern farmhouse bedroom. This guarantees alignment with the final rendering and fosters a sense of ownership.
Using mood boards and reference images can facilitate a collaborative discussion, helping to clarify your client's style and desired elements. Regular feedback sessions during the rendering process allow you to incorporate client insights and adjustments, reducing misunderstandings and enhancing satisfaction.
Presenting multiple design options through 3D renderings helps clients visualize different styles and layouts, fostering informed decision-making.
Here are some emotional benefits of collaboration:
- Empowerment: Clients feel more involved in the design process.
- Trust: Open communication builds stronger relationships.
- Satisfaction: Personalized designs lead to happier clients.
Maintain open communication throughout the project, encouraging clients to share their thoughts and preferences. This approach not only results in a more personalized design but also creates a successful outcome that both you and your client can be proud of.
Conclusion
In the world of interior design renderings, the magic lies in the details. You've gathered inspiration, crafted a 3D model, and fine-tuned the lighting—all essential steps that transform your vision into reality. But remember, it's in collaboration with the client where true creativity flourishes. By embracing their feedback and ideas, you don't just create a space; you craft a story. The theory that design is solely about aesthetics fades when you realize it's about connection and experience.